You have a fresh installation of CyberPanel on your VPS or dedicated server and want to configure DNS for your domains.
Requirements
- You have a server domain e.g. kashmir.com to identify your server on WWW
- You have create private nameservers e.g. ns1.kashmir.com, ns2.kashmir.com
How to register private name servers with Namecheap or Godaddy!
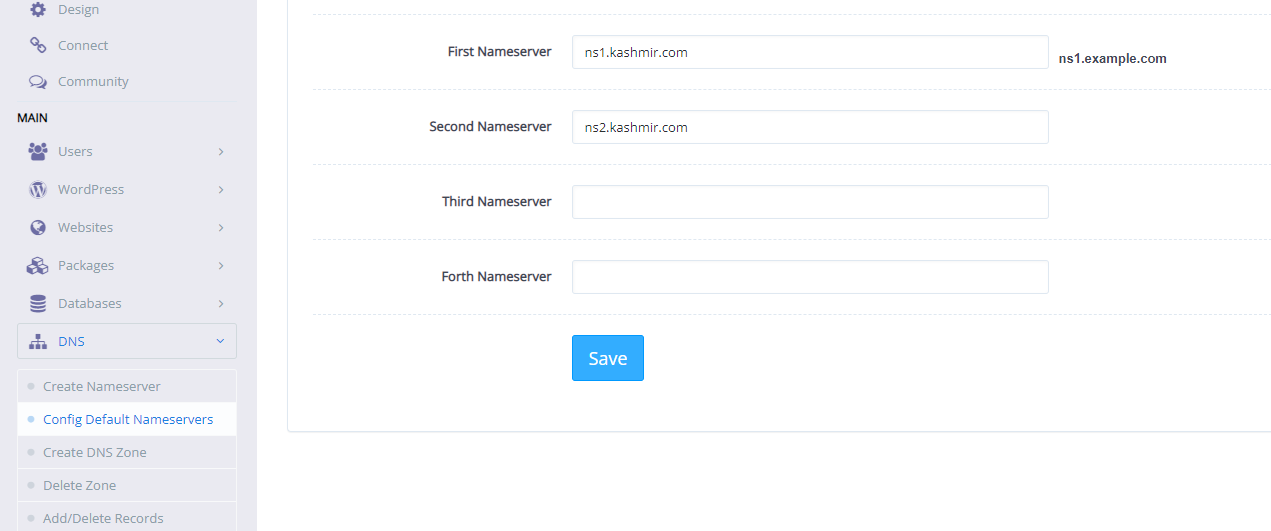
1. Configure Default Nameservers
Go to https://SERVER_URL.com/dns/configureDefaultNameServers and add ns1.kashmir.com, ns2.kashmir.com
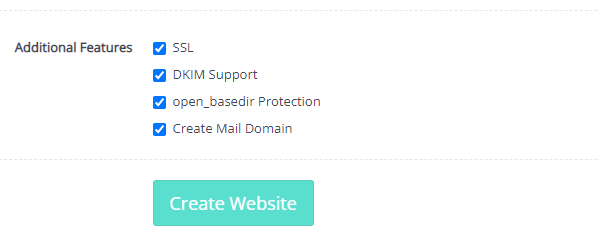
2. Create a website for kashmir.com
Go to https://SERVER_URL.com/websites/createWebsite and create a website. Make sure to check the following: SSL, DKIM Support, open_basedir protection, Create Mail Domain. We will require them to setup our mail addresses.
3. Setup our server hostname
Open your SSH terminal and set hostname of your server and run command hostname panel.kashmir.com (you can use srv.kashmir.com or host.kashmir.com)
Secondly, go to https://SERVER_URL.com/websites/createWebsite and create a website for panel.kashmir.com
4. Issue SSL certificates for hostname: panel.kashmir.com and mail server: mail.kashmir.com
Go to https://SERVER_URL.com/manage SSL/sslForHostName and issue SSL for your hostname as setup in step #3
Go to https://SERVER_URL.com/manageSSL/sslForMailServer and issue SSL for your mail server mail.kashmir.com which was automatically created for you in step #2
Now let’s confirm our records. Go to https://SERVER_URL.com/dns/addDeleteDNSRecords and view for each domain (panel.kashmir.com, kashmir.com)
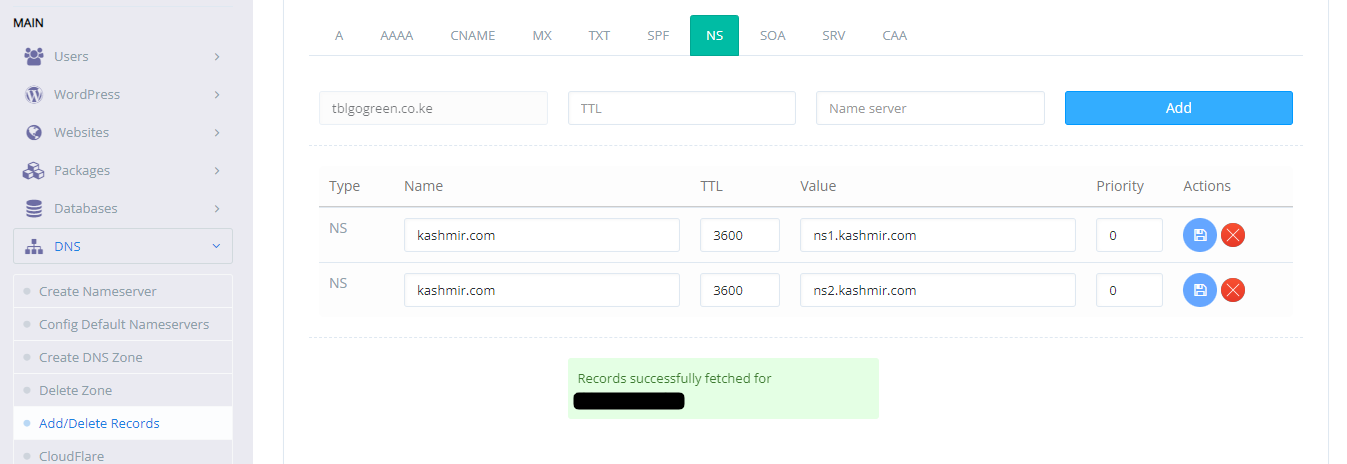
See our nameservers show our server domain name nsX.kashmir.com.
Now we can add other domains as websites if we so wish.
DNS changes may take up to 48-72 hours to propagate especially for any other domains we add to be hosted on our server. Also, there are known issues with mail configurations for any domains we add notable issues invalid DKIM signatures, Non-glued nameserver records, SSL issues with domains and mailserver
To solve this let’s use CloudFlare as our DNS manager
5. Handover DNS management to CloudFlare
Go to https://dash.cloudflare.com/ and register an account
Let’s use Cloudflare as our primary DNS provider and manage our DNS records on Cloudflare by adding your domain as a website see the steps Change your nameservers (Full setup) · Cloudflare DNS docs
We will get new nameservers and copy them over to https://SERVER_URL.com/dns/addDeleteDNSRecords

You can also copy them over at your hosting provider dashboard if they offer DNS management.
From experience managing over 50 domains with CloudFlare domain propagation takes at most 6hrs
6. Setup DNS Records with CloudFlare
Go to https://dash.cloudflare.com/ and choose your newly added website kashmir.com
Copy over all the DNS records for kashmir.com domain from https://SERVER_URL.com/dns/addDeleteDNSRecords

- Add A Records
- Add AAAA Records
- Add CNAME Records
- Add MX Records
- Add DMARC records (TXT Records)
CyberPanel creates an “invalid” 2048bits signature with extra unecessary commas such as:
"v=DKIM1; h=sha256; k=rsa; " "p=MIIBIjANBgkqhkiG9w0BAQEFAAOCAQ8AMIIBCgKCAQEA4eYRCyQekrMugN0dPeKL6H0ZEOBghv08njZuqiLvbUL8w4pS9EMgJ+u+2DQgmnknKmGE/lISVmMlQY07OwAItuNa46+Kh0PfpnVeI9d9EuhMCzxl/JgJFdvqlfNnDCBA6xepaBGLhG3sz/KklyKSVnA31WrZnynyVnqa4DRoEh4rd1cf89Ts61tv+G3pyBWxugSrJujmpoF5ox" "g/ZawwWYzTstmsL/eE586F/94Pq0zIxQqPoGdyQ9c/A48Gj72IryketM/Ovp5CI7hxlX/K5Wy+XBJxVV/OnQQxkxm4aPwbQ2S8wq/tUCj6+ZRk+y5hZHmL6wJbZjF0fBZdBRL2mQIDAQAB"
DO NOT copy this to CloudFlare. Edit this like this:
v=DKIM1; h=sha256; k=rsa; p=MIIBIjANBgkqhkiG9w0BAQEFAAOCAQ8AMIIBCgKCAQEA4eYRCyQekrMugN0dPeKL6H0ZEOBghv08njZuqiLvbUL8w4pS9EMgJ+u+2DQgmnknKmGE/lISVmMlQY07OwAItuNa46+Kh0PfpnVeI9d9EuhMCzxl/JgJFdvqlfNnDCBA6xepaBGLhG3sz/KklyKSVnA31WrZnynyVnqa4DRoEh4rd1cf89Ts61tv+G3pyBWxugSrJujmpoF5oxg/ZawwWYzTstmsL/eE586F/94Pq0zIxQqPoGdyQ9c/A48Gj72IryketM/Ovp5CI7hxlX/K5Wy+XBJxVV/OnQQxkxm4aPwbQ2S8wq/tUCj6+ZRk+y5hZHmL6wJbZjF0fBZdBRL2mQIDAQAB
Protocol version and policy option should be in one line
Public RSA key should be in the second line as a continuous key
- Add SPF Records (TXT Records)
If you have added all these records you are all setup to create mailboxes
7. Setup Mailboxes and check your mailscore
Go to https://SERVER_URL.com/email/createEmailAccount and choose kashmir.com
Create an email address such as info@kashmir.com where in the username field only input info and generate a strong password
Open the mailbox using WebMail https://SERVER_URL/snappymail/index.php use email address and password you generated.
Open https://www.mail-tester.com/ and copy the email address you see on the website.
Send an email with subject and body to that email address e.g. test-swql0qsad@srv1.mail-tester.com
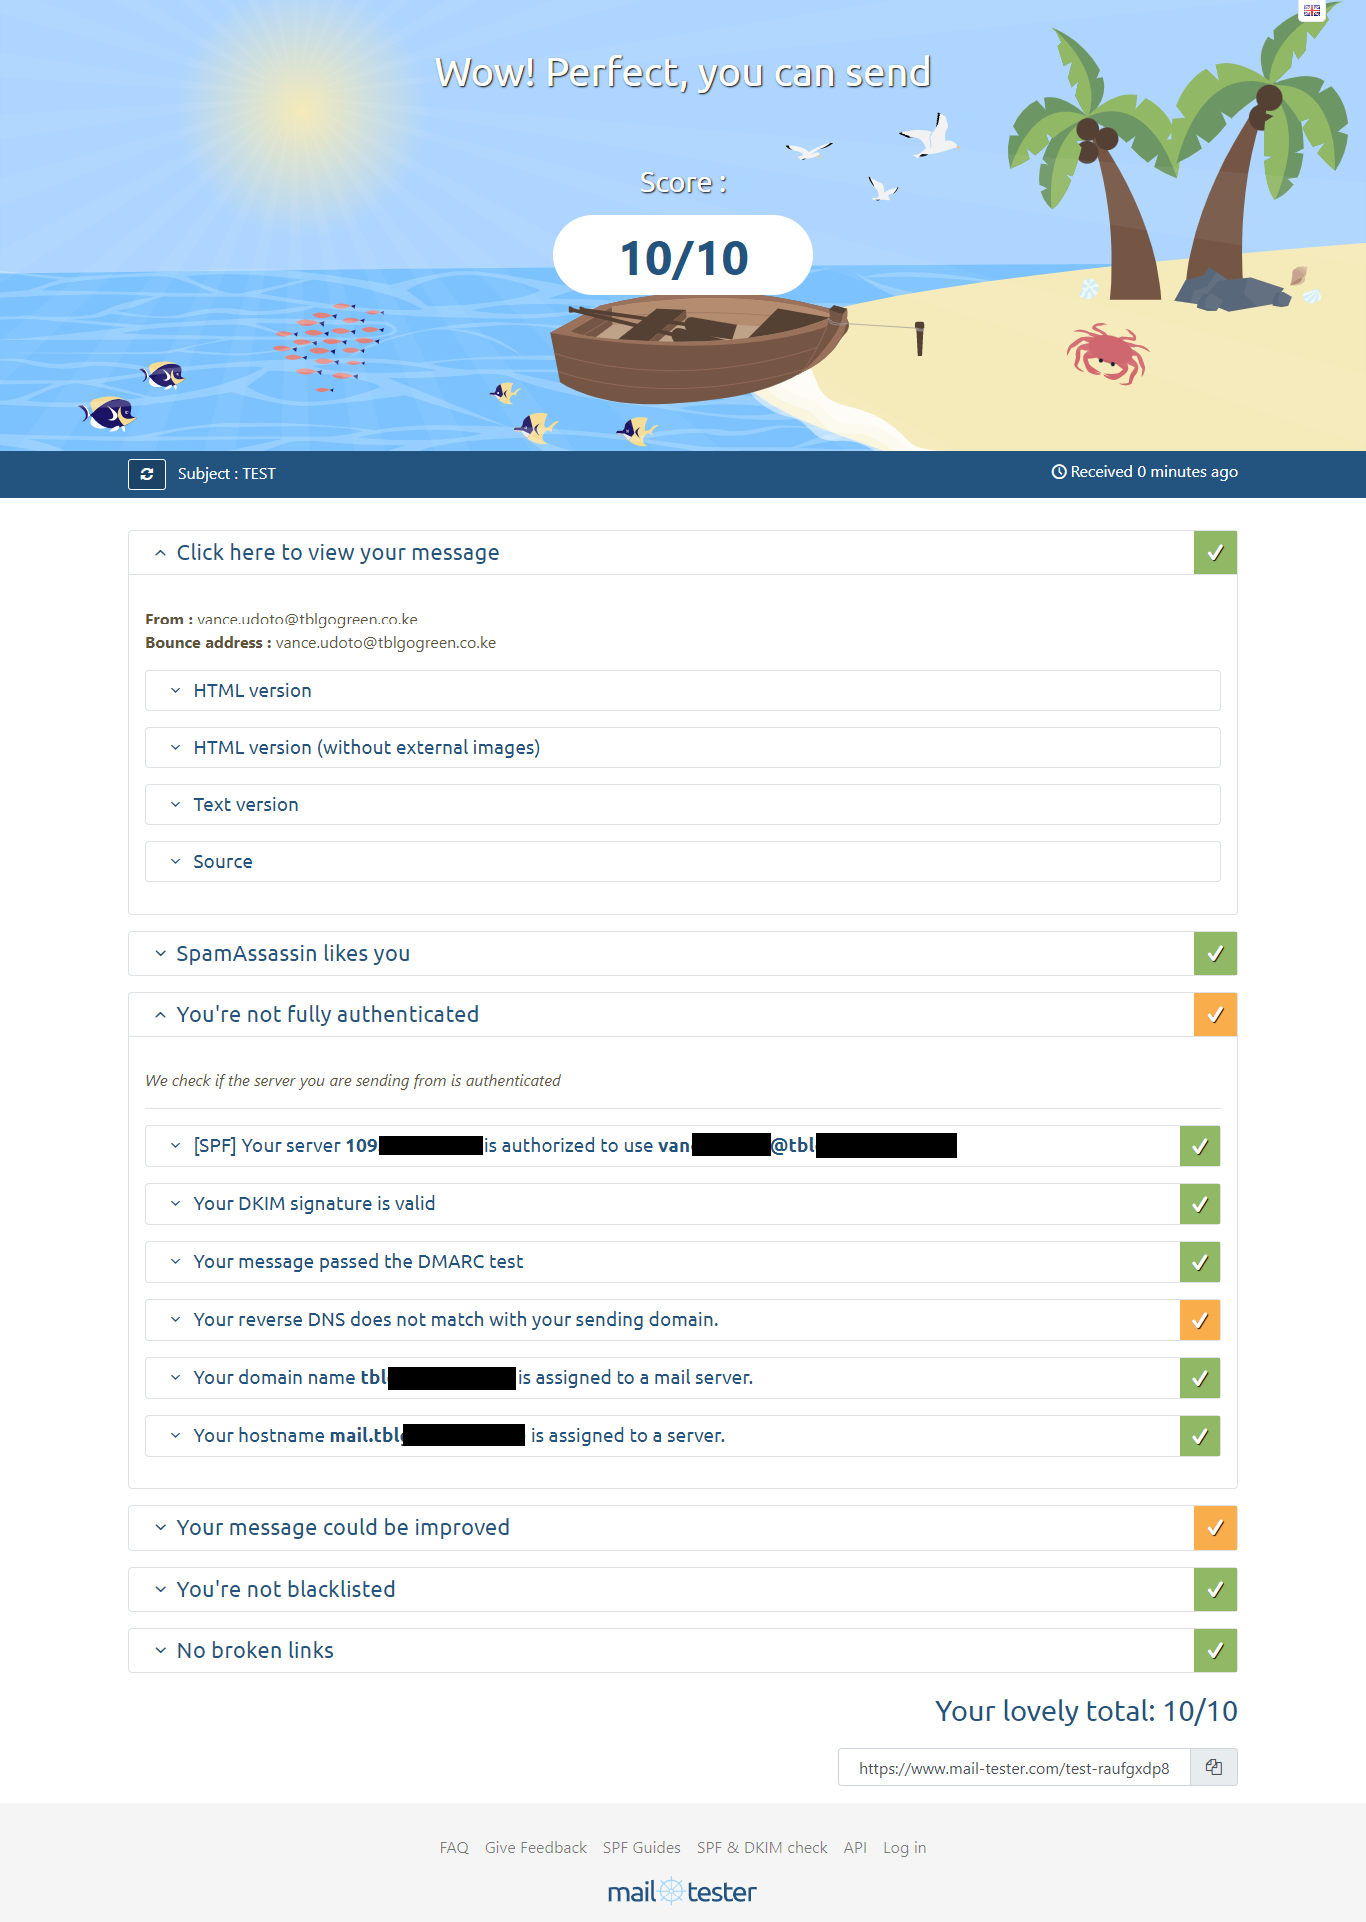
Go back to https://www.mail-tester.com/ and check your score by clicking on the Check your score button
By this point you should have 10/10 score
To filter spam mails follow this guideline Filtering Spam in RainLoop, AutoReply and Email Filters with Sieve OR How to install and configure Rspamd on CyberPanel