If you’re looking to create a DNS server very simply and do not want to overwrite your primary domain’s Nameservers, with the ones hosted by CyberPanel, here’s how you can do it.
This process basically takes less than 5 minutes and will allow you to point secondary domains to the “nameservers” that will be held in CyberPanel, without changing the actual nameservers of your primary domain.
Why should I do this?
Let’s say, ABC.com is your primary domain. Maybe you have CyberPanel set up on “panel.abc.com” and a bunch of other services, such as Emails, other websites and subdomains for ABC.com hosted somewhere else, or even in CyberPanel.
It’s a risk to update the nameservers of ABC.com and point them to CyberPanel, as if something were to go wrong with your CyberPanel installation, all records associated with ABC.com, your emails, websites and even the panel itself, would stop working.
So, in this case, I recommend creating a “Super Simple Nameserver”, where the primary domain (ABC.com) is still set to the Registrars (or your current) nameservers. Let’s use GoDaddy for an example.
How do I do this?
ABC.com is hosted on GoDaddy’s nameservers. Typically that’s “ns123.domaincontrol.com” and “ns321.domaincontrol.com” for example.
This means all of your records for ABC.com are accessible by changing the DNS settings on GoDaddy. Because GoDaddy are a major domain name provider, we can probably trust that they have multiple backups, meaning any chance of a complete DNS outage, is very unlikely.
This is perfect, because we’re going to add some records for ABC.com, which will be used for your secondary domain’s Nameservers.
For the sake of this guide, our secondary domain will be 123.com.
We will set up the 123.com nameservers to be “ns1.ABC.com” and “ns2.ABC.com”. Meaning, that all traffic going to 123.com will need to perform a nameserver lookup at one of the two ABC.com nameservers that we are creating.
We’ll use 123.456.789.101 as the fictional IP address for the server that CyberPanel is installed on.
Create the required A Records
- Login to ABC.com’s Domain Provider account (GoDaddy.com)
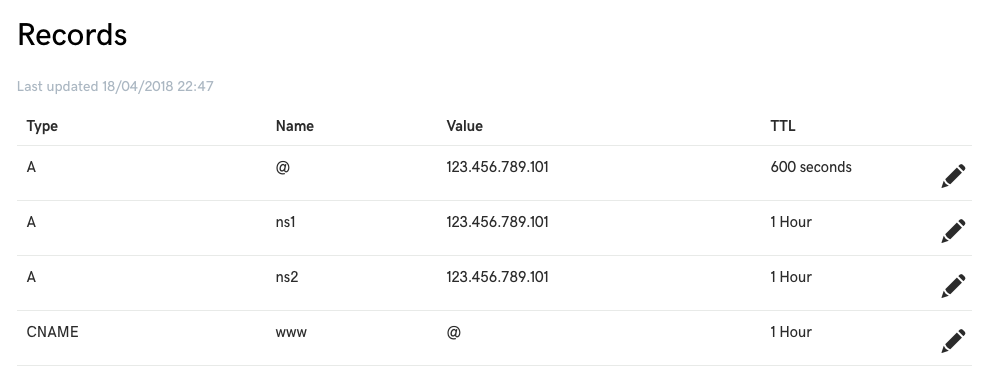
- Add 2 new “A” Records to your domain:
-
NS1.ABC.COM and NS2.ABC.COM
- Point those domains to the IP address of CyberPanel
- Save the changes.

Your DNS Records should look something like this:
Wait and Ping the Newly Created Records
Open a Terminal or Command prompt and ping the newly created records by using the following command:
ping ns1.abc.com
You should get a response similar to the image below:
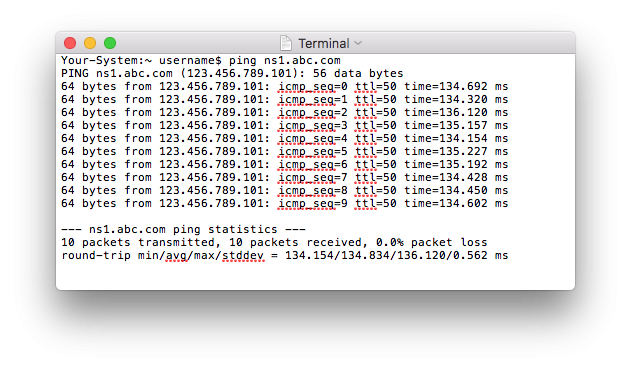
If you get “Request Timed Out”, looks like you’ll need to wait a while for the records to propagate and start resolving to the IP address of the server.
Add the Nameservers to CyberPanel
So, the newly added records are pinging to the correct IP address, which confirms that any traffic requesting ns1.ABC.com will route to your CyberPanel server.
Now we need to add the nameservers to the panel, so CyberPanel knows what to start doing with DNS record lookup requests.
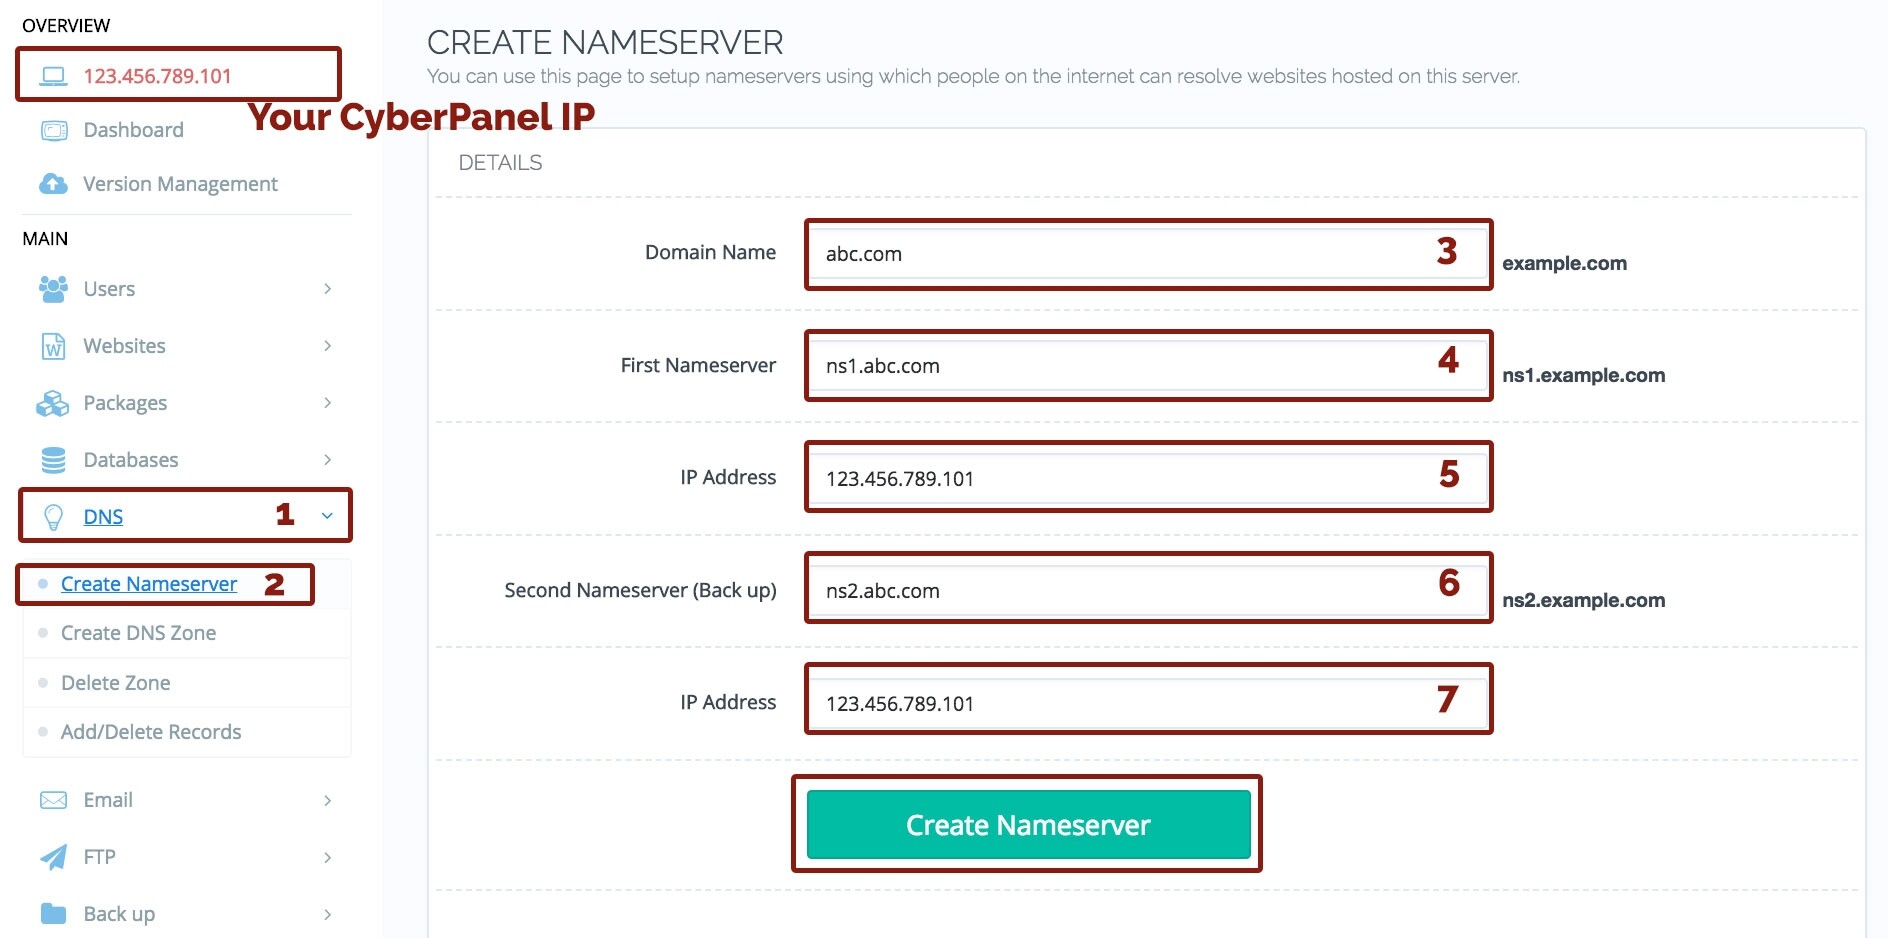
- Select DNS from the Menu
- Choose Create Nameserver
- Enter your PRIMARY DOMAIN (ABC.COM)
- Add your new NS1.ABC.COM
- Enter your CyberPanel IP address
- Add your new NS2.ABC.COM
- Enter your CyberPanel IP address
- Select Create Nameserver
Save the nameserver and verify that they have been added correctly.

You are able to check if the nameserver has been created and updated in CyberPanel by checking the DNS record associated to that domain.
- Select DNS from the menu
- Choose Add/Delete Records
- Select ABC.COM from the domain dropdown
- Verify the records were added

Point the secondary domain to your new Nameservers
Now we must tell our secondary domain “123.com” to start connecting to the new nameservers we created at ABC.com
For this, you will need to login to your domain registrar’s panel, and update the Nameservers to the newly created NS1.ABC.COM and NS2.ABC.COM
Each panel looks different, but we’ll use GoDaddy as an example:
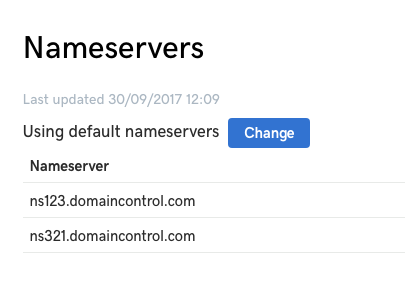
Right now, 123.com is using GoDaddy’s default nameservers. We will need to change these to “NS1.ABC.COM and NS2.ABC.COM”.
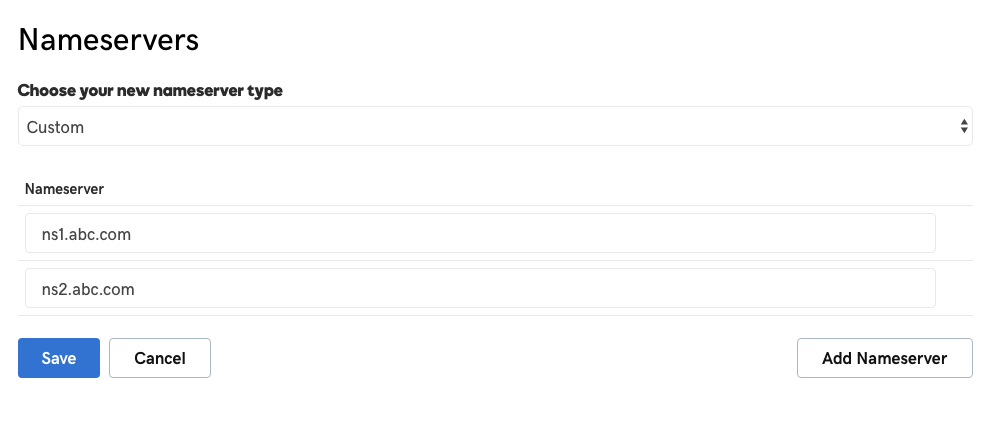
Don’t forget to save!
Be Patient
Updating nameservers can take some time. Typically, the registrar updates them in a matter of minutes, but your internet service provider, router and system may still have your old information cached.
This works best if you haven’t tried to visit “123.com” in a while. If you have visited 123.com recently, it’s likely to take some time to resolve.
However, you can check the status of your nameserver updates by using DIG, a utility used to look up DNS records. You can use Google’s version here:
https://toolbox.googleapps.com/apps/dig/#NS/
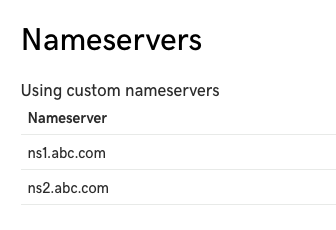
Make sure you’re on the NS option and you should find that looking up 123.com shows the answer “ns1.abc.com” and “n2.abc.com”.
This means the records have been added properly, and they are indeed set to lookup at the newly created Nameservers.
Add 123.com to CyberPanel’s websites and / or create DNS zone records.
The rest is simple, just create a website with 123.com as the domain name, and create any records that you need, including the DNS Zone.
All info regarding this step can be found here: 1 - Manage DNS - 05 - DNS - CyberPanel Community
And that’s it! You’re up and running.
DON’T FORGET: DO NOT CHANGE THE NAMESERVERS FOR ABC.COM UNLESS YOU ARE PREPARED TO EXPERIENCE DOWNTIME. YOU’LL NEED TO MAKE SURE THAT YOU ADD THE A RECORDS YOU CREATED FOR NS1 AND NS2 TO YOUR NEW NAMESERVER MANAGEMENT IF YOU PLAN TO USE OTHER SERVICES, LIKE CLOUDFLARE.