Do you want to host a free and super fast WordPress blog by yourself without any technical knowledge? Yes, now it is possible. You can set up self-hosted WordPress on CyberPanel in 10 minutes. We have come up with a step-by-step guide to self host your blog without any coding knowledge.
You may wonder, how is it possible to host a website in 10 minutes? It takes hours to set up a website on a web server due to its complex back-end work. You need technical knowledge on Linux to install necessary prerequisites like PHP and MySQL (Maria DB) to run and install WordPress on your server. There are many tutorials and guidelines available on the web to install WordPress on your website from the command line terminal, but still, it takes hours to set up your website. Mostly non-technical users pay for managed web hosting services to set up their sites.
CyberPanel has solved this major problem through its simple to use graphical user interface. It is a web hosting control panel from where you can self-host your WordPress blog in 10 minutes without any cost.
1. CyberPanel Features
CyberPanel is a web hosting control panel backed by OpenLiteSpeed that allows you to manage your websites along with many other features that include but are not limited to Email and DNS. It provides auto-installation of WordPress, PrestaShop, Joomla and Magento with one click from its graphical user interface. Its functionality is very simple for non-technical users to self host their websites/blogs. You can self manage the following features that CyberPanel provides:
- Auto SSL for your websites (Secure Socket Layer)
- FTP Server
- Manage DNS
- Choose various versions of PHP for your site (PHP 5.x → PHP 7.x)
- Email Support
- File Manager
- One-click WordPress Staging Feature
- Firewall
- One-click Incremental backup system
CyberPanel offers two variants: free and paid. Both options come with similar features. You can avail yourself of the free version for your WordPress website, which comes with the OpenLiteSpeed web server. Compare this to cPanel, which charges at least a $15 per month license fee to set up your self hosted website on a private server. For more information, you can click this link to read the difference between the two control panels.
2. Steps to Install WordPress on CyberPanel in 10 minutes
First, you need some online space to install CyberPanel. For that, you need to buy a VPS (Virtual Private Server) to store your data. In this guide, we will discuss step-by-step how to get a free VPS from DigitalOcean and how to install CyberPanel on your self-purchased private server.
2.1 How to Purchase a VPS (Virtual Private Server)
There are many hosting platforms from where you can purchase a cloud server such as DigitalOcean, Hetzner, Vultr, etc. In this guide, we will help you get a free cloud server from DigitalOcean.
2.1.1
Navigate to DigitalOcean and sign up. (You will get $50 as a credit in your account.)

2.1.2
Go to https://cloud.digitalocean.com/login and log into the DigitalOcean cloud platform.

2.1.3
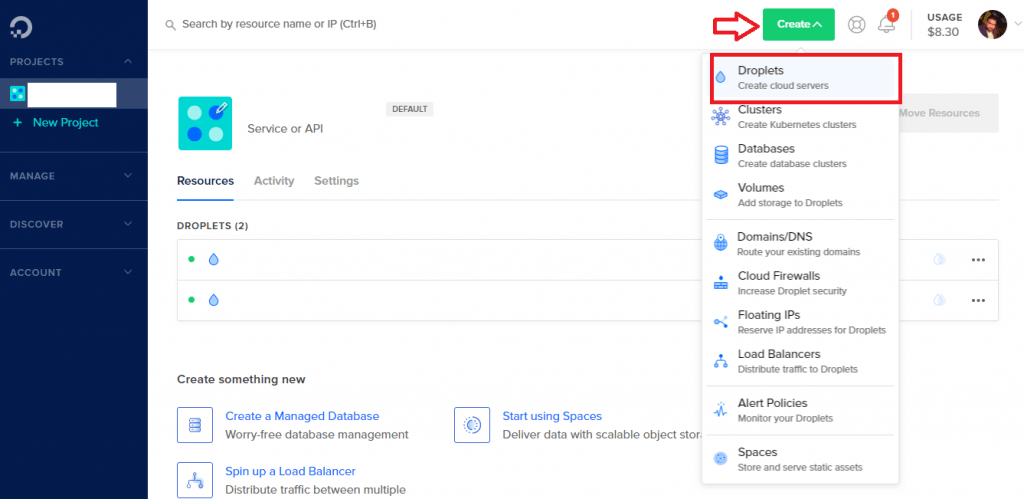
On the right corner of your dashboard, click the Create button. It will display a list of options. Choose Droplets (Create Cloud Servers).
2.1.4
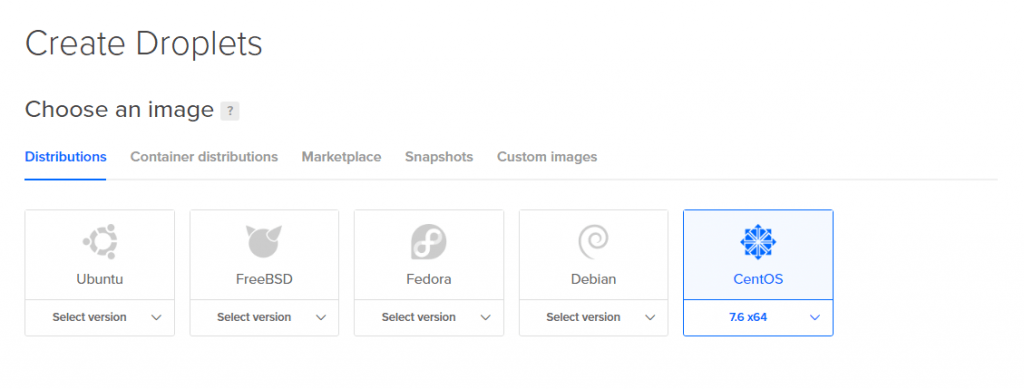
Choose CentOS 7.x as your operating system from the list.
2.1.5
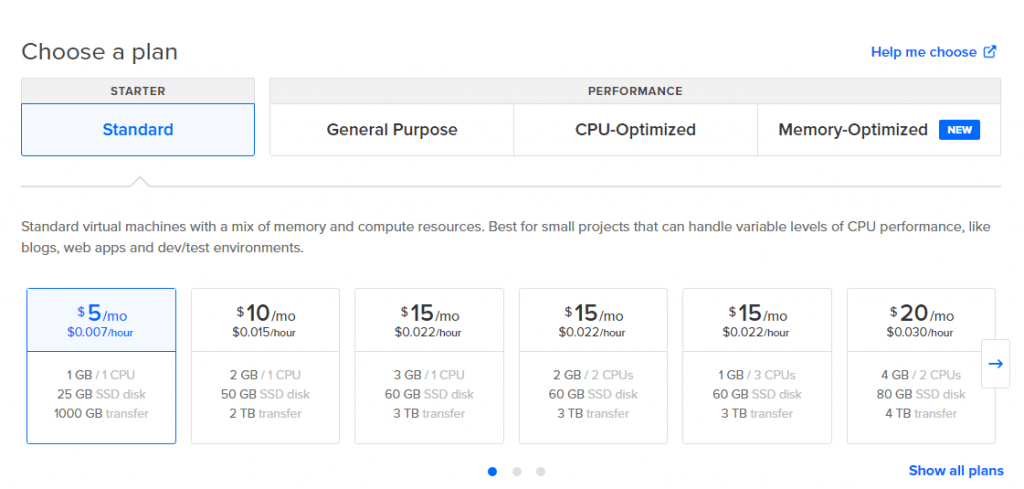
Choose a plan according to your requirements. For this example, we will choose a Standard Plan of $5 per month. (If you choose this plan your website can run free for almost 10 months using the free $50 credit that you got above.) The Standard Plan is enough to run a website with 25 GB SSD Disk, 1GB/1 CPU and 1000 GB Transfer. Other options range from $5 to $80 per month with a maximum of 16 GB/6 CPU, 320 GB SSD Disk and 6TB Transfer.
2.1.6
Choose the appropriate datacenter region for your server.

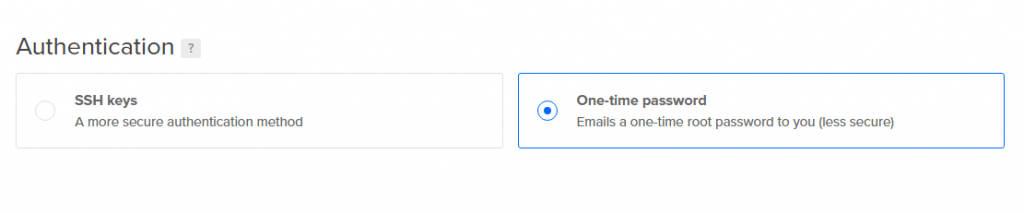
2.1.7
Choose One-time password in the Authentication setting.
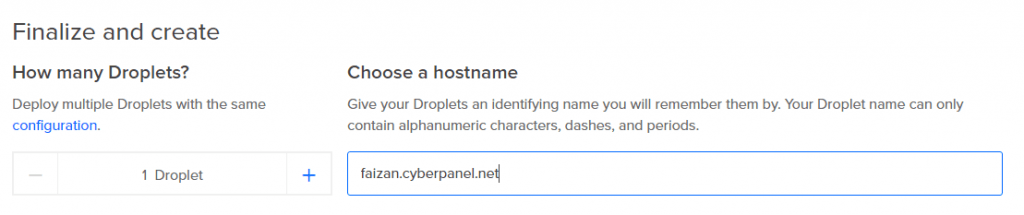
2.1.8
Write any hostname in the Finalize and Create section.
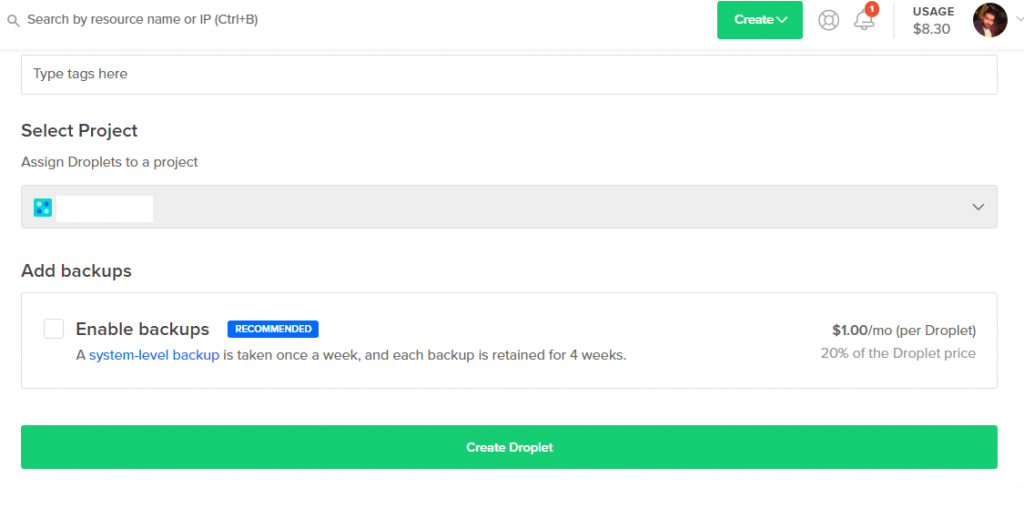
2.1.9
Skip the other options and click Create Droplet.
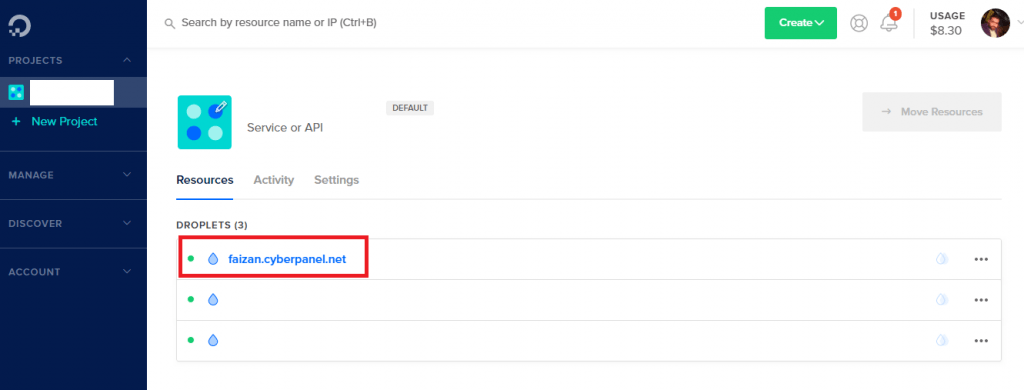
2.1.10
Our droplet, faizan.cyberpanel.net was successfully created.
At this point, you should receive a message at the email address you provided when you signed up for DigitalOcean. It contains a one-time password and your IP address to log into your root account from the command line terminal on CentOS 7. If you are a Microsoft Windows User, then download Putty 0.73 software from the web. Log in as root by providing your IP address on port 22. After login as root, it will ask for the password that you received via email. After entering your password, change the password right away for security purposes.
2.2 Install CyberPanel on Your Server
From the terminal command line, enter the following command to install CyberPanel:
sh <(curl https://cyberpanel.net/install.sh || wget -O - https://cyberpanel.net/install.sh)
- Follow the on-screen instructions to complete the installation.
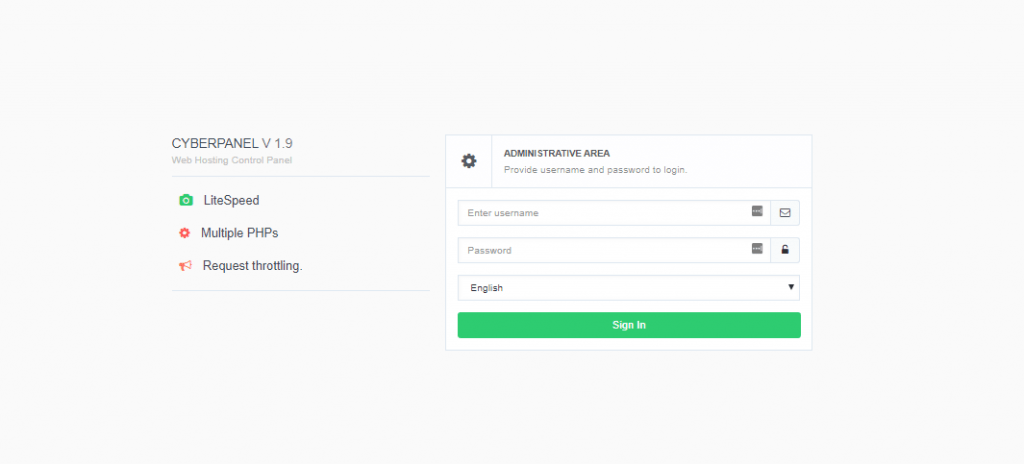
- Log into CyberPanel as the admin user and set a strong password.
- Navigate to
https://domain-name:8090to log into the main dashboard of your CyberPanel account from the graphical user interface.
Note: You need to set up DNS records of your domain before moving forward. Setting DNS records are out of the scope of this tutorial. However, we can recommend various tutorials depending on your needs.
- CloudFlare DNS: If you want CloudFlare to manage your DNS follow this tutorial: How to setup Cloudflare for your domain!
- Custom Nameserver: You can set up a Custom name server as well: Namecheap or GoDaddy
Once custom nameservers are setup on domain registrars, CyberPanel will take care of the rest for you.
2.3 Set up WordPress on CyberPanel
2.3.1
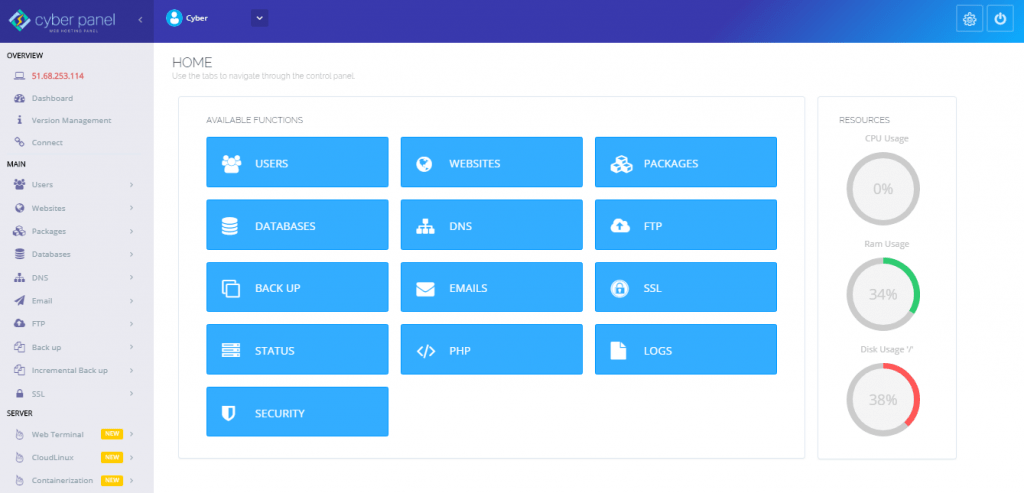
The main dashboard of CyberPanel is straightforward. You can easily access the pre-installed features from the panel due to its prominence. There is a menu bar on the left side of your screen. To make a website, click on Websites > Create Website to open the following window. Provide the following information:
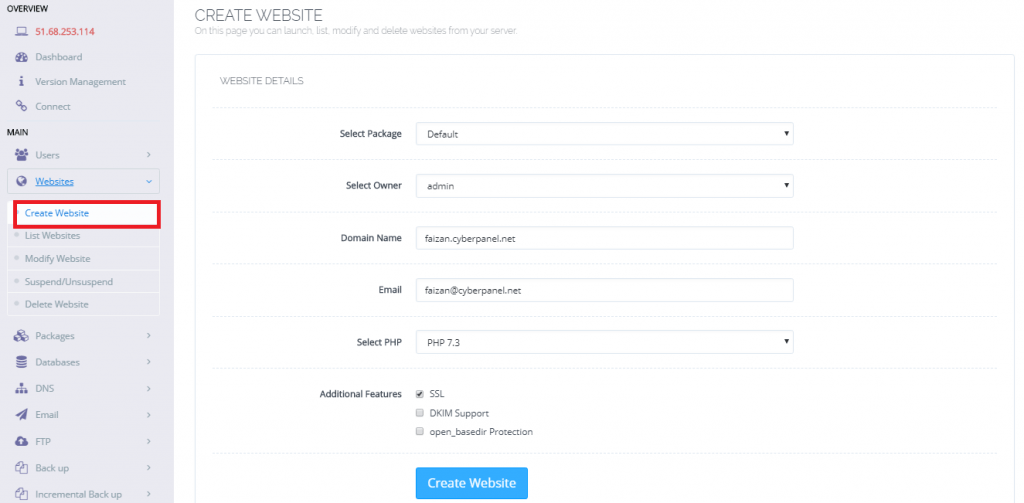
- Set Select Package to
Default. - Set Select Owner to
admin. If there are other users who should also be allowed to manage your site, you can add them later. - Set Domain Name to the domain where you want to install WordPress.
- Set Email to the email address of your website. You can make one for official use with one-click from the CyberPanel email system.
- Set Select PHP to the latest version. CyberPanel gives you an option from
PHP 5.6toPHP 7.3. - You can also avail yourself of additional website features with one-click. SSL (Secure Socket Layer), DKIM Support and Open_basedir Protection are your choice.
- Click Create Website.
2.3.2
The website faizan.cyberpanel.net is now successfully created. The next step, is to install WordPress on CyberPanel. Go to Websites > List Websites where you will see your site listed. On the right side of your screen, you will see aManage option. Click it to make changes to your website.
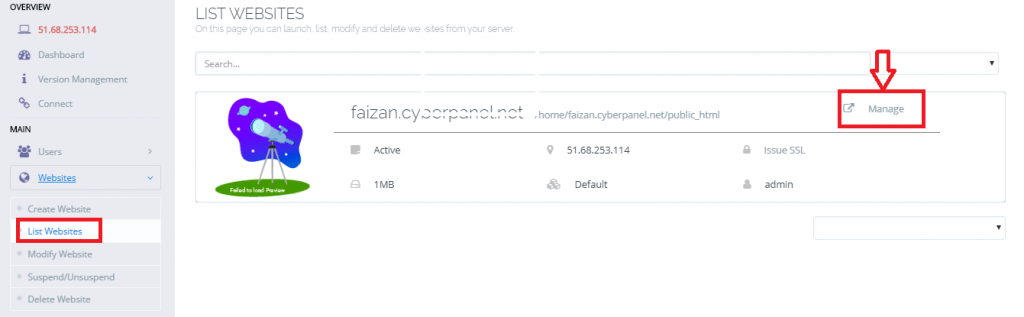
It will take you to the following screen. Now, scroll down to pre-installed applications where you will find WordPress + LSCache.
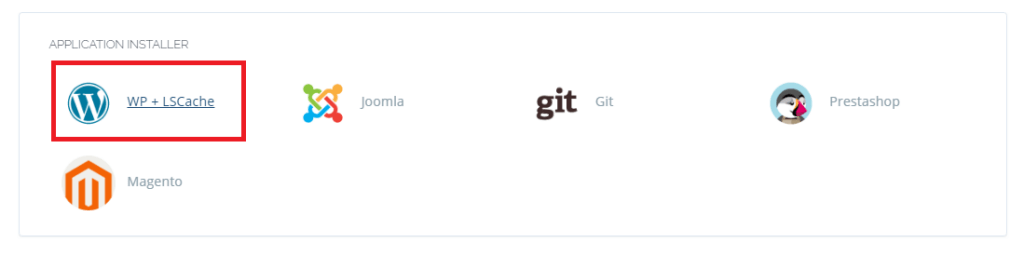
2.3.3
Click WP + LSCache to install WordPress and LSCache. The LSCache plugin speeds up the load time of your WordPress site. The reason it is different from other cache plugins is its installation is at the server level. You can study its details by clicking this link. Enter the following information:
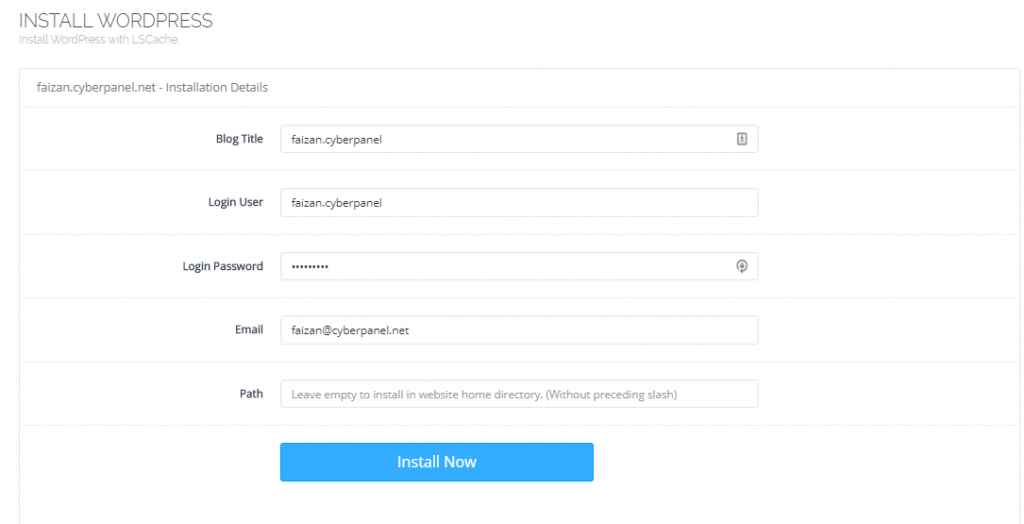
- Set Blog Title to the title of your WordPress site.
- Set Login User to the username who operates the site.
- Set Login Password to a strong password to enter your blog.
- Set Email to an email address for the authentication of your blog.
- Press the Install Now button.
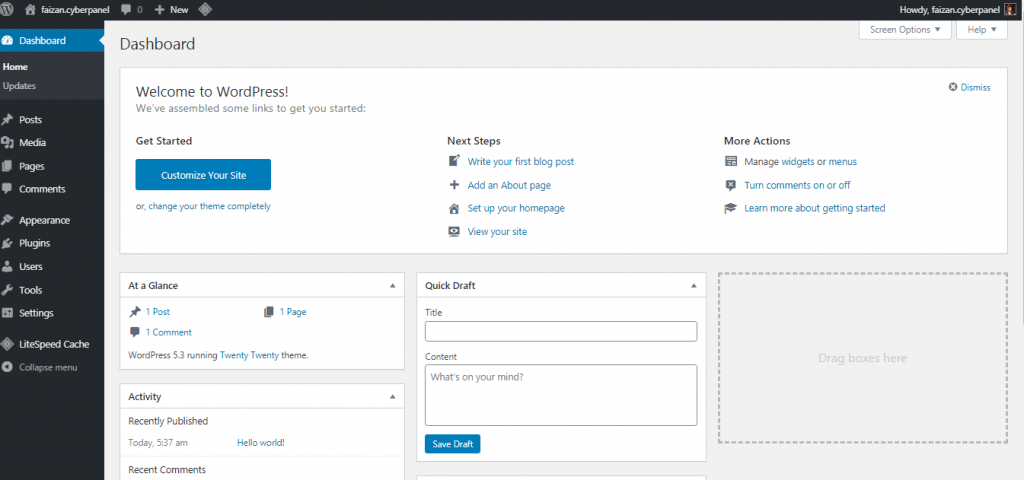
2.3.4
WordPress is now successfully installed. Next, navigate to http://domain-name/wp-login.php/ and enter your username and password to log into the main dashboard of your WordPress website:
3. Conclusion
Now you must understand the difference between CyberPanel and other web hosting control panels. It is the simple control panel that provides the same features as cPanel at no cost. The most important thing is its accessibility to all functions that provide the best user experience. Most of the customers who use CyberPanel are non-technical, and they are happy to use it without any complaints. Further, in case of any problems, the CyberPanel support department is here to help around the clock.
If you followed our guide, it is easy for you to purchase a VPS, install CyberPanel, and set up a self-hosted WordPress on your server. Most of the non-technical users are not aware of CyberPanel as the best possible solution for hosting your WordPress site for free. If you followed our guide till now, then you must have learned how easy it is to set up your self-hosted WordPress site on CyberPanel in 10 minutes.