The purpose of this article is to explain the process and working of Mautic.
Our focus for this article will be on a following points:
- How to install/setup Mautic on CyberPanel
- How to create segments in Mautic
- How to Create Emails on Mautic
- How to Create Campaigns on Mautic
The first step is to install and set up a server with CyberPanel. To install CyberPanel follow this link.
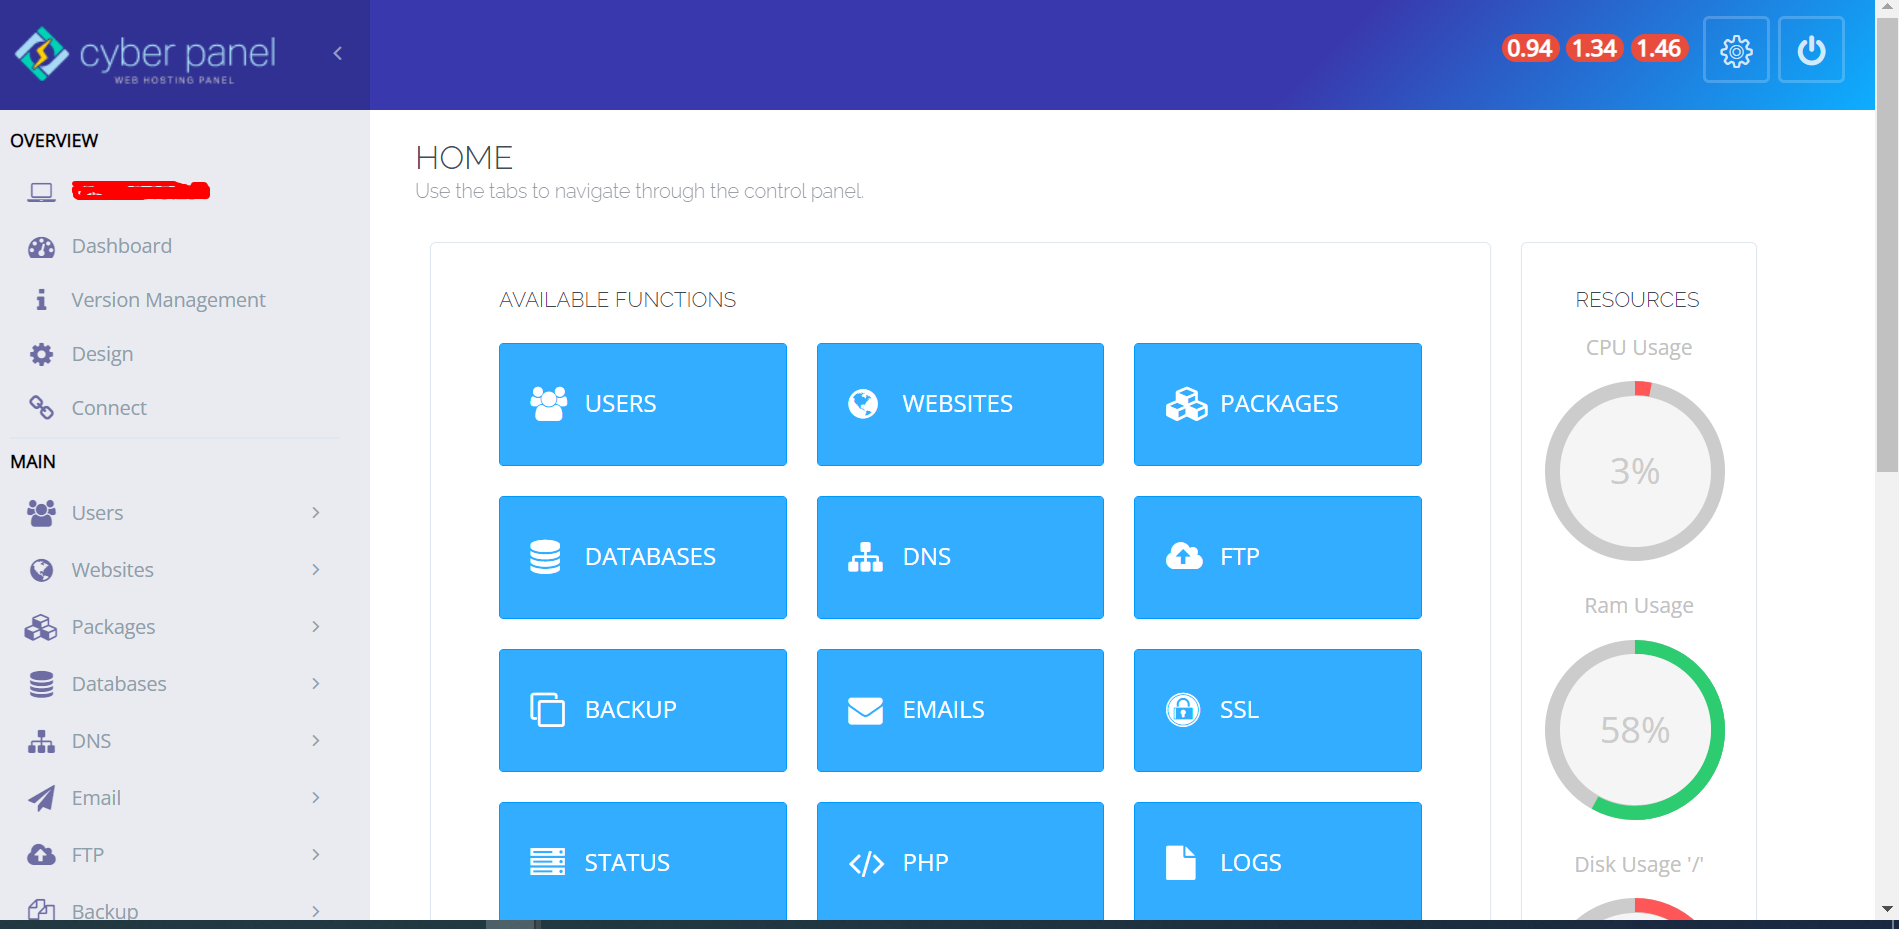
After the installation is complete, you can log in to CyberPanel by providing your username and password. Once you are logged you can see this dashboard:
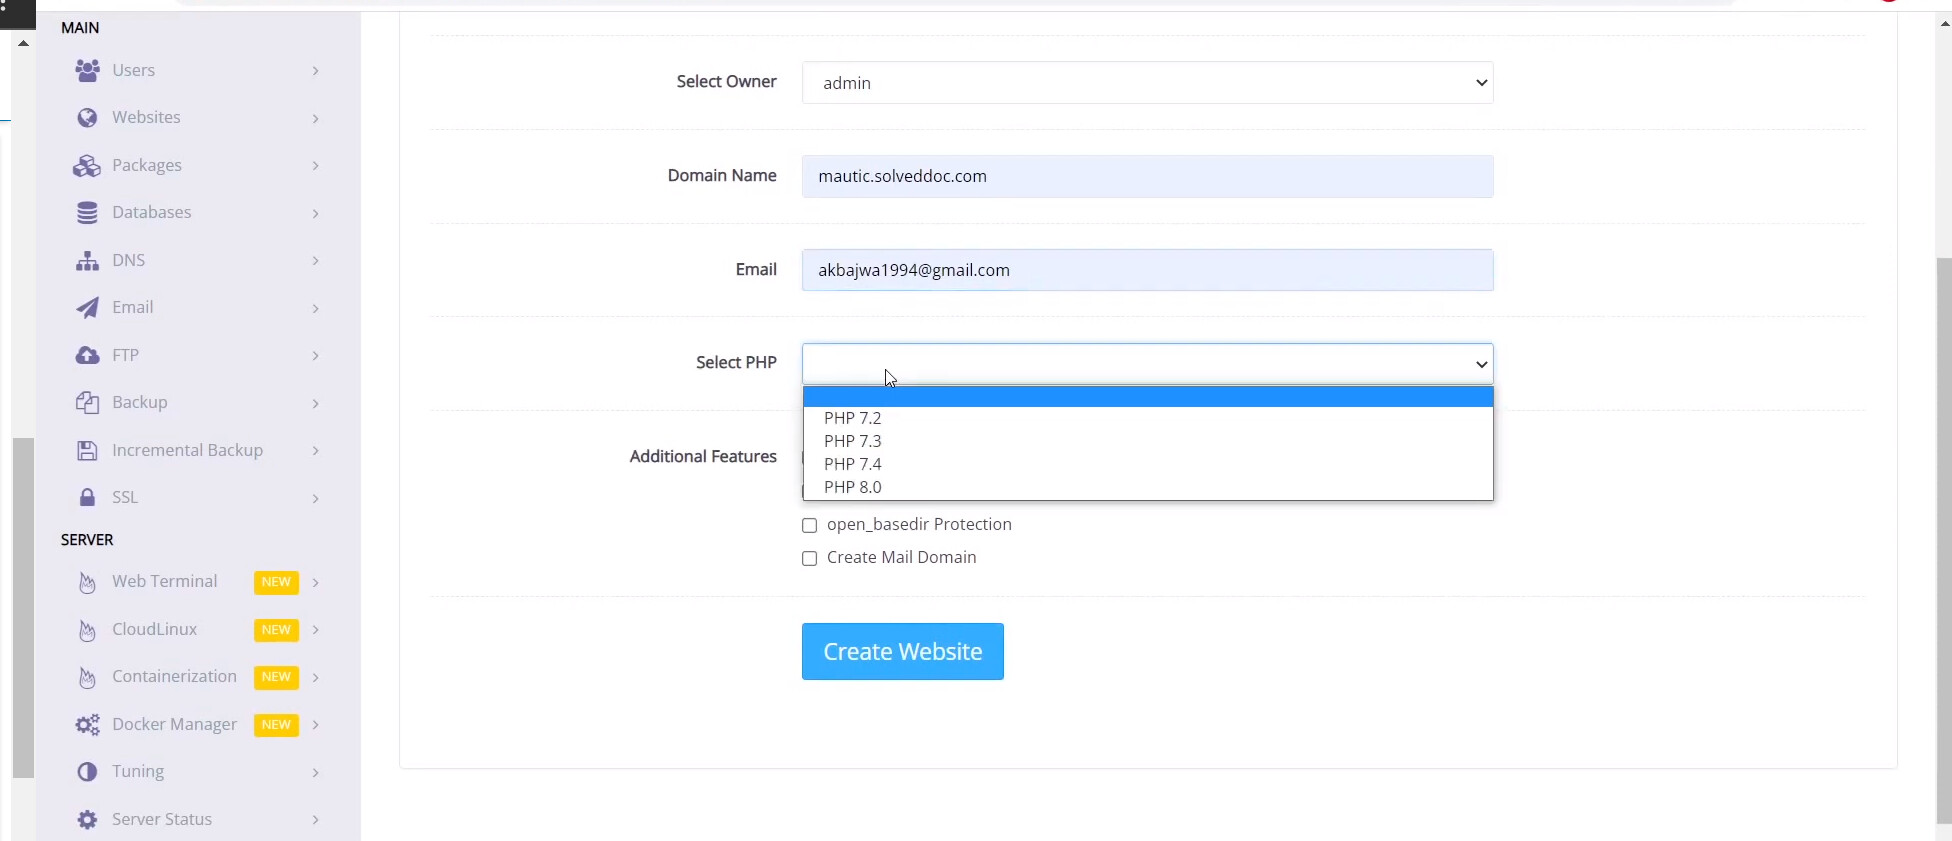
After entering the CyberPanel dashboard you have to create a website to set up Mautic. To create a website you can follow this guide
NOTE: while selecting the PHP version please select the 7.3
Once the Website is created now you can click on List Websites from the left menu.
You can see the websites list on your server like in our case we have only one.
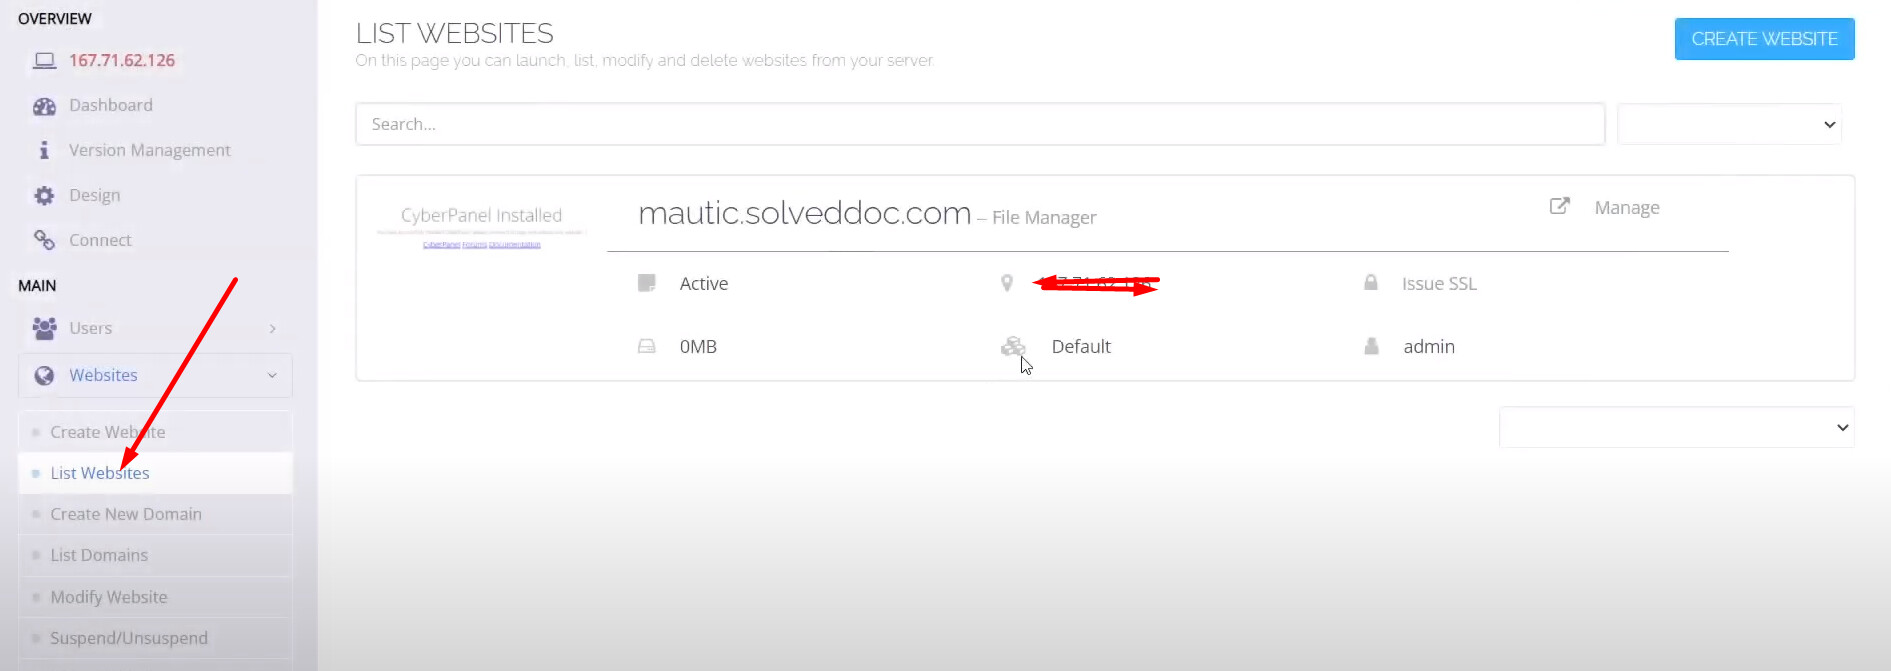
In front of the website, click the Manage button. You can install Mautic from the Application Installer section of the dashboard.
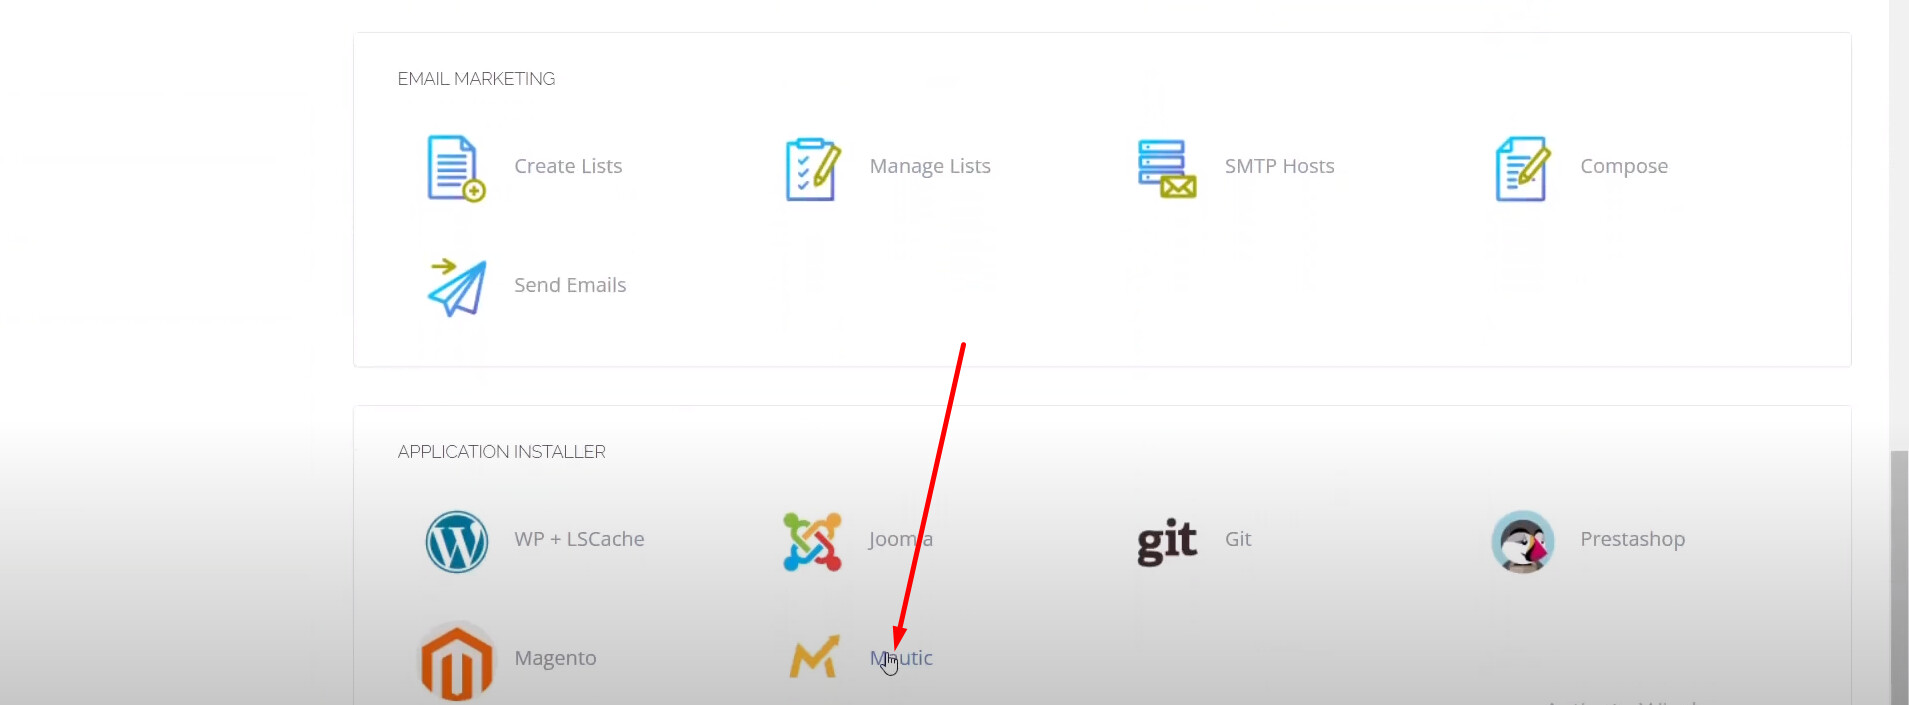
Once you click on Mautic you land on a window where you have to enter your installation details, please note that your email/username will be used for login to Mautic dashboard.
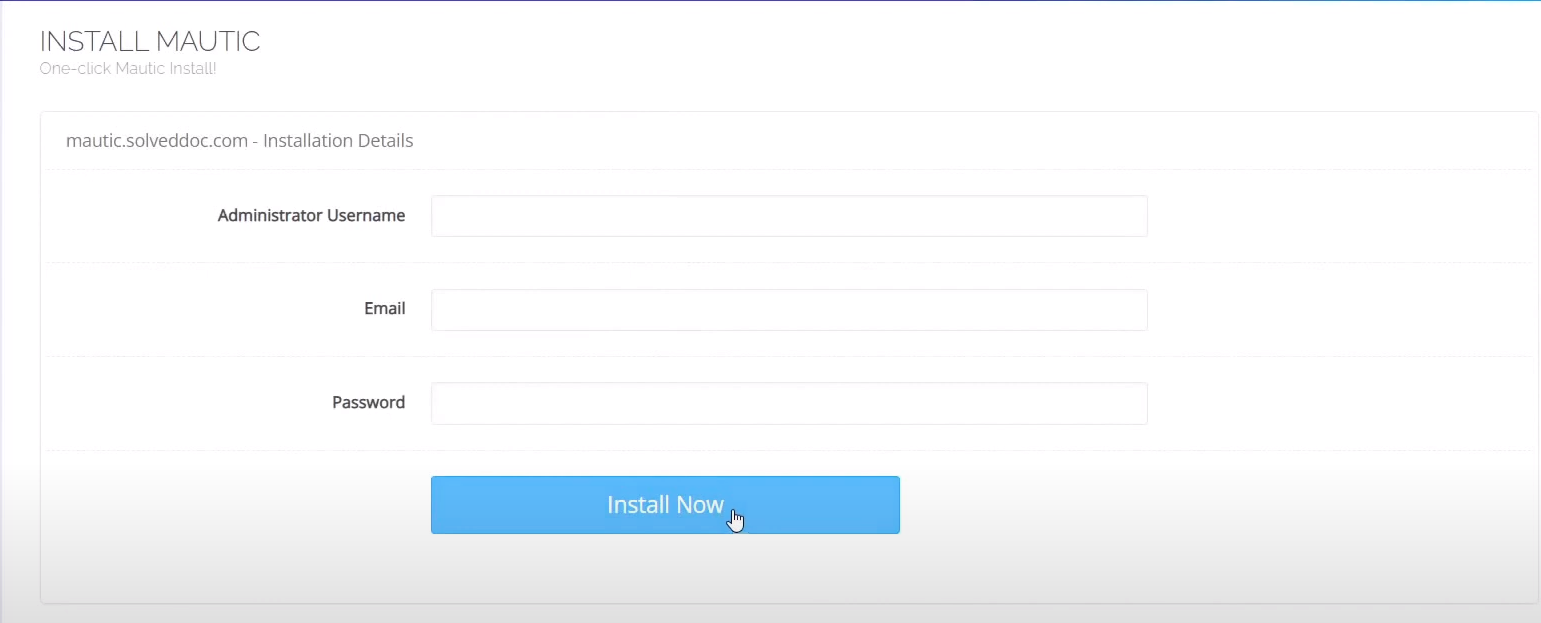
After providing all information here click on the Install button and installation will be started.

Installation process may take few minutes, once done you can visit your site and access Mautic dashboard.

Just enter this site URL in the browser and you can see the Mautic login page.

Provide the password and email here which you have added during the installation process
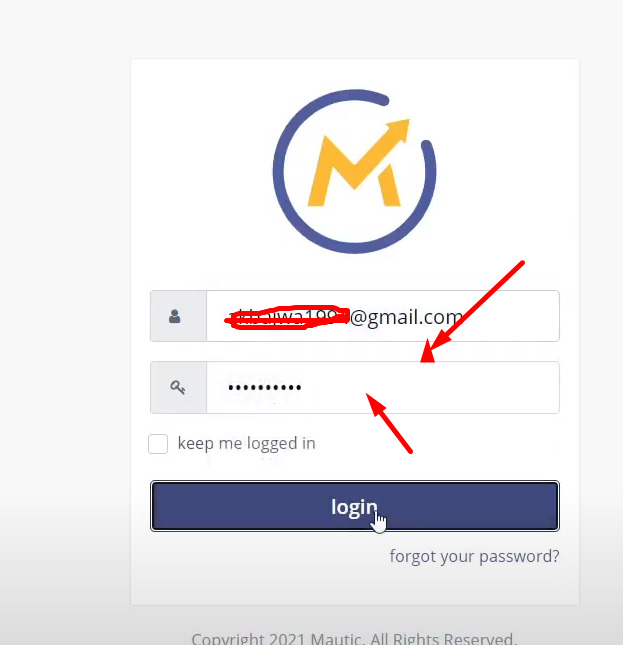
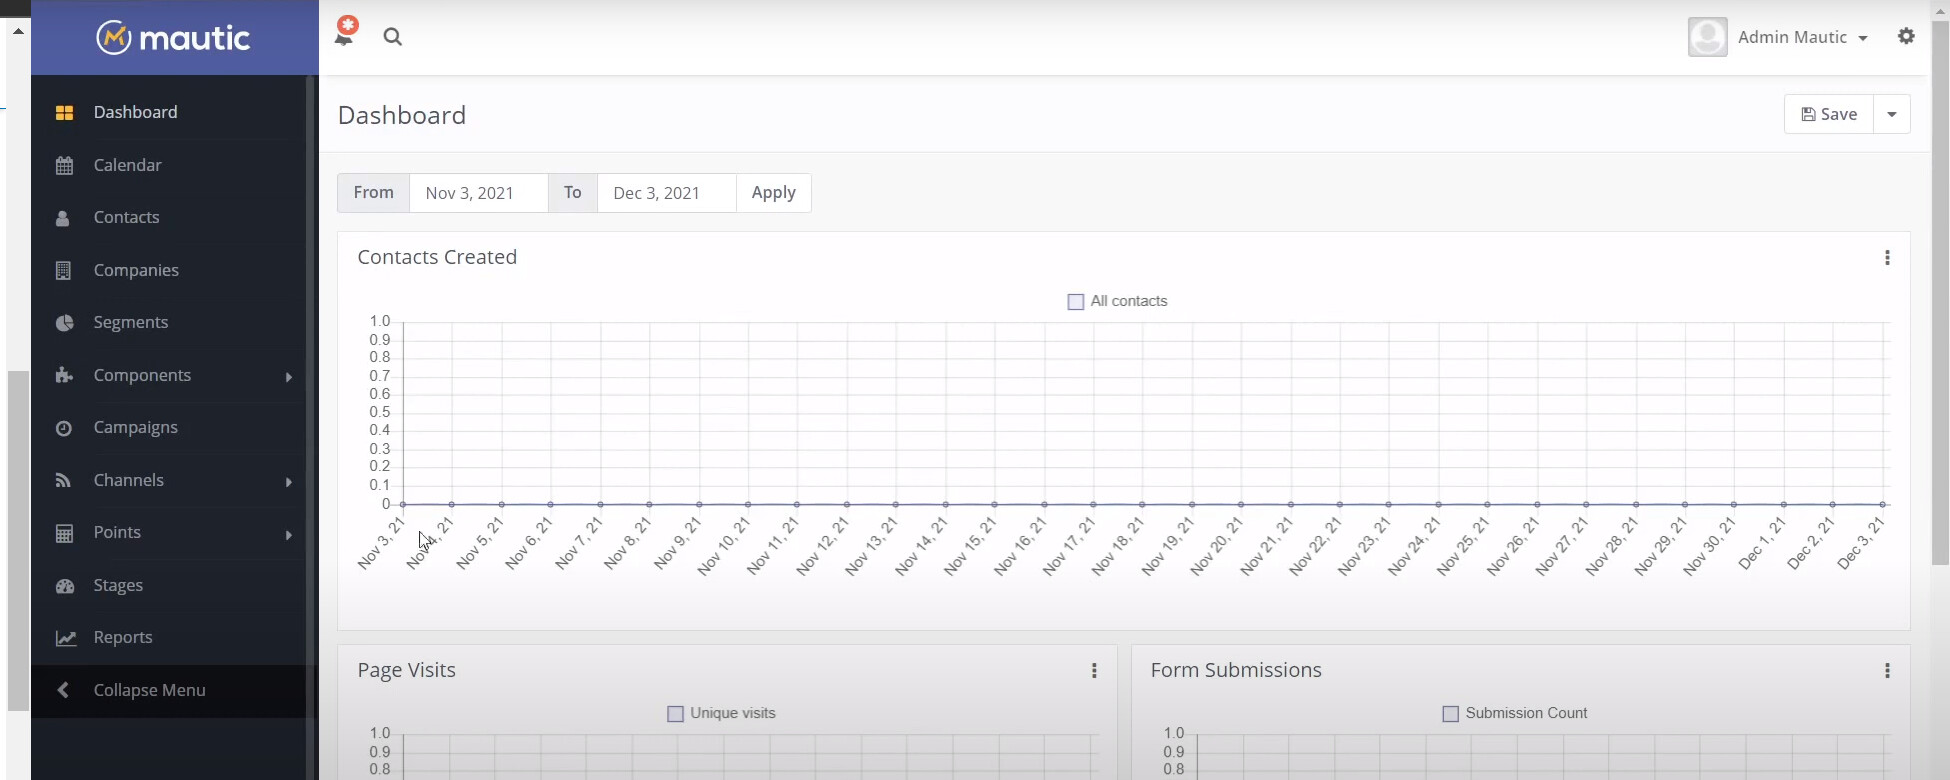
After clicking log in button you can see this dashboard
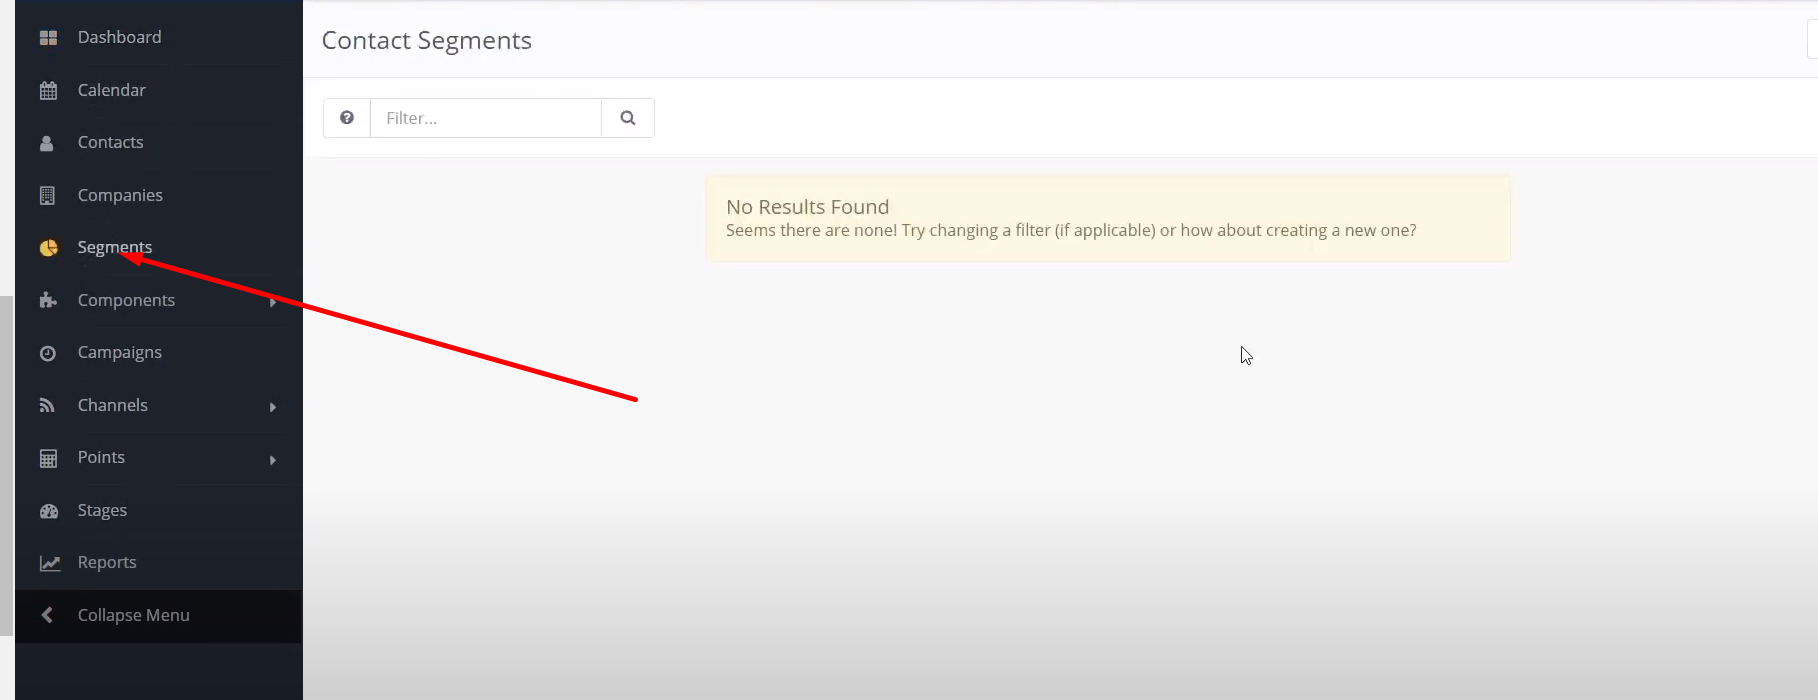
Create Segment in Mautic:
To do so click on the segments button inside the Mautic dashboard
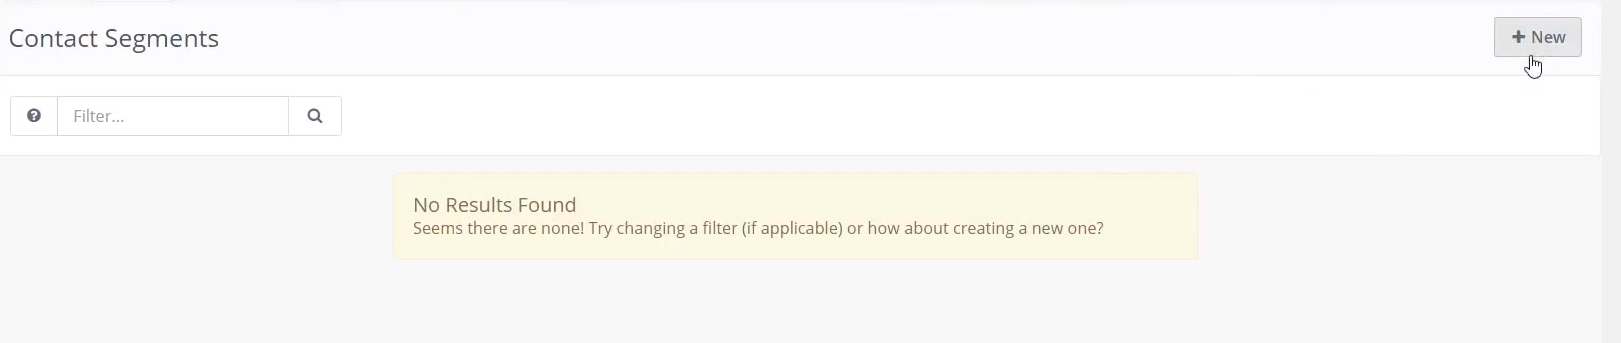
To create a new segment click on the New button on the right side of the screen.
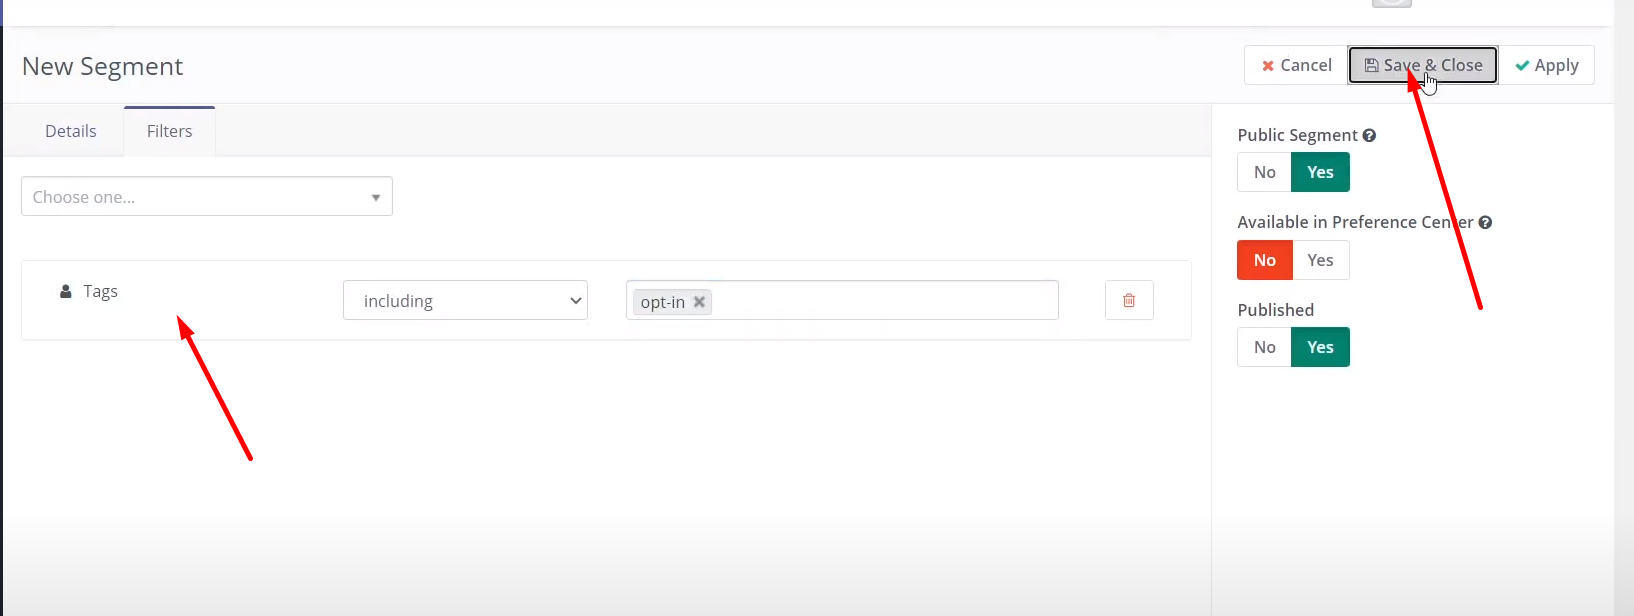
This page will allow you to provide details for your new segment like segment name, weather its a public segment etc.
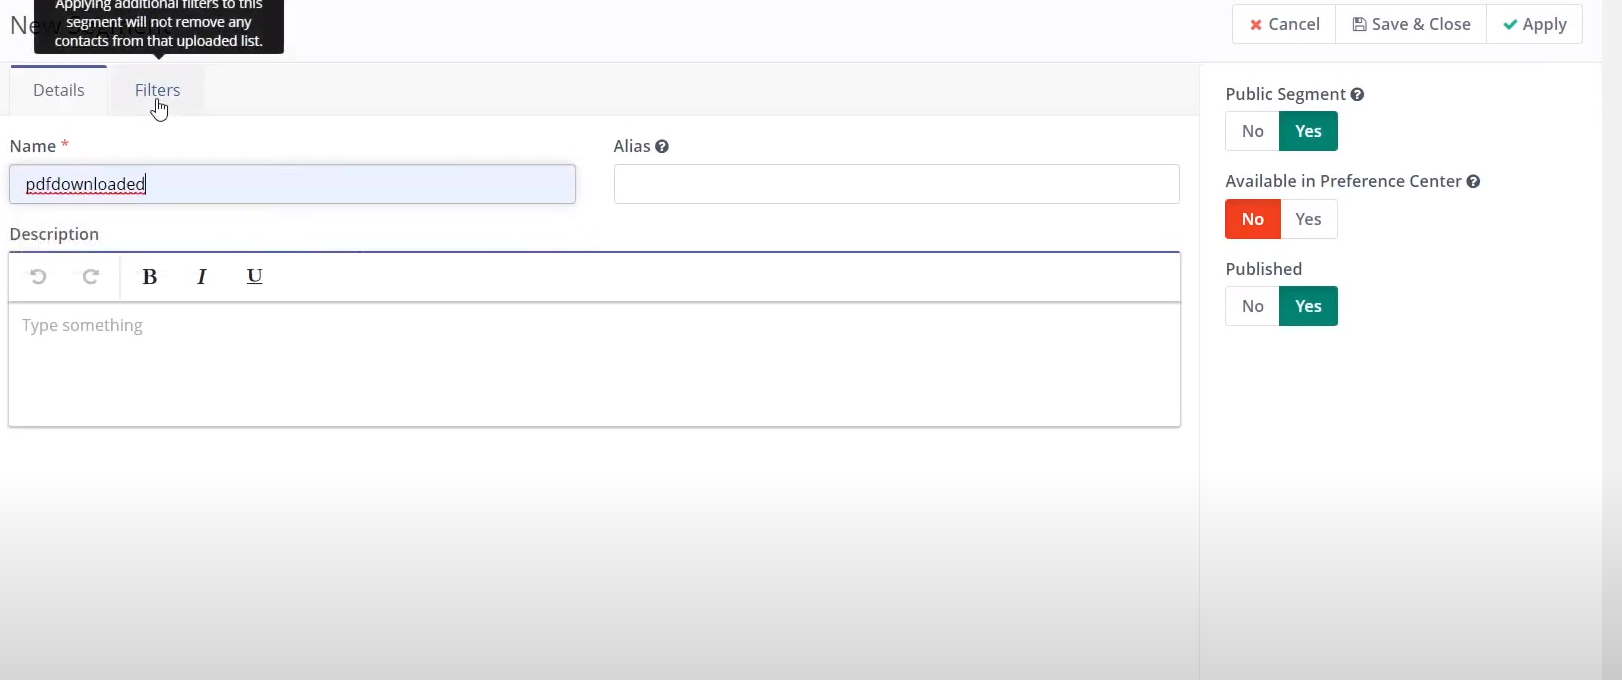
Here you can also enter any filter. Filters are automated rules which allows you to add contacts to your list (or remove)
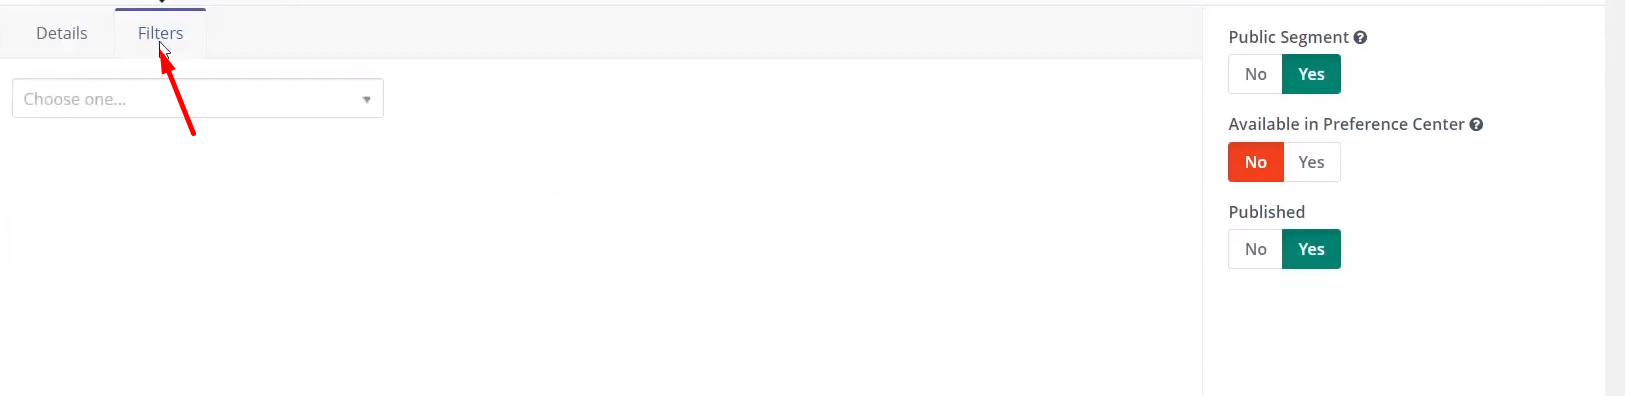
Like we added a Filter of Tags and after providing all information click on Save & Close
Once the segment is created you will see it listed under the segments section.
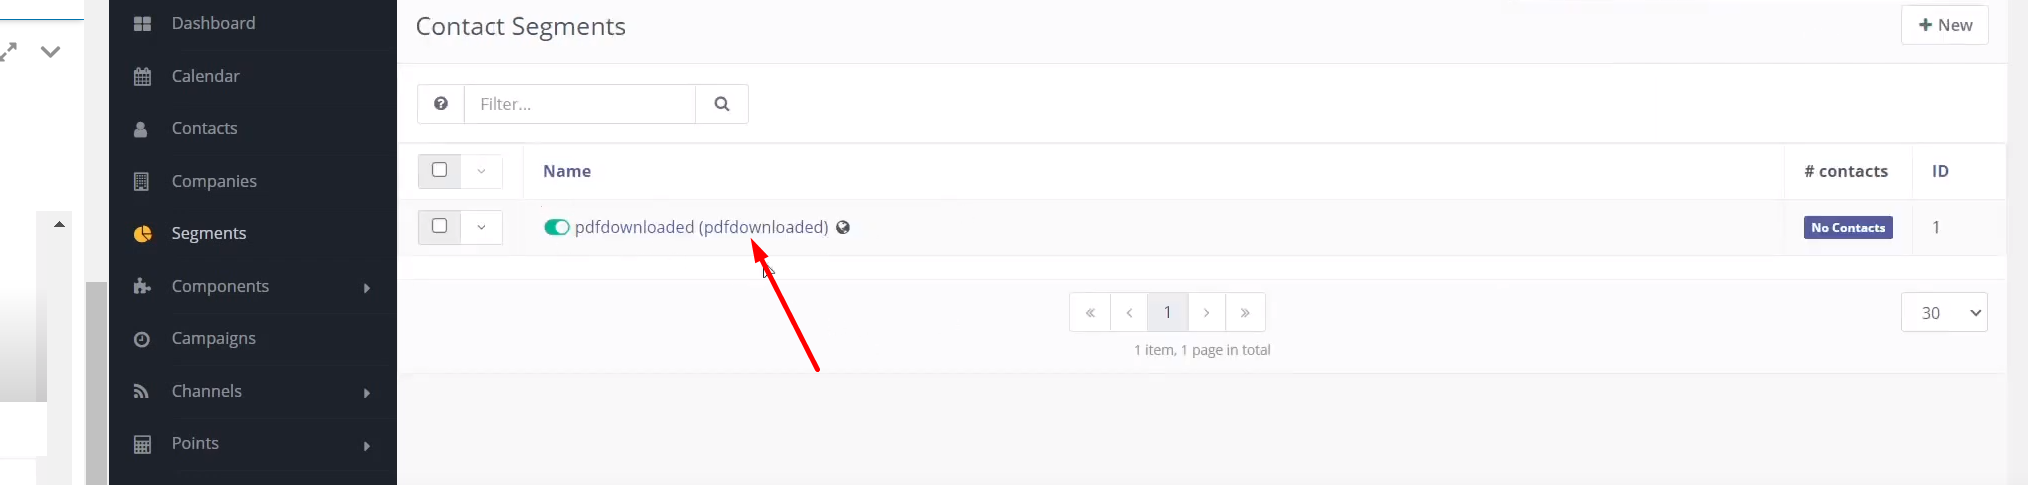
Now you can send emails to your segments or use these segments in campaigns. We will now move forward by creating an email.
Click on Channels from the left menu of Mautic and inside Channels, section click on the Emails.
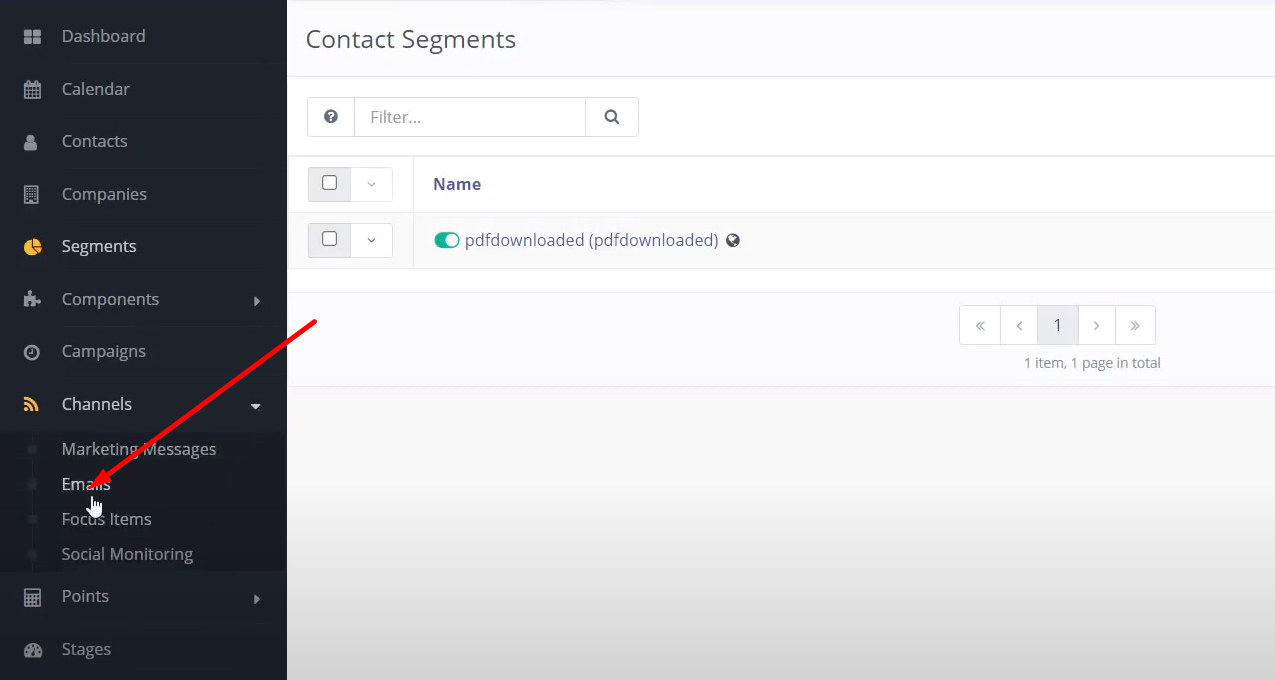
Now you can create new emails from there. To do so click on the New button and create a new email.

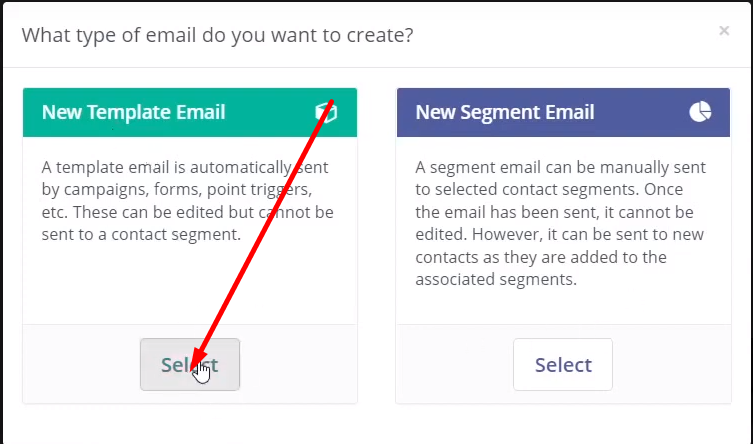
Mautic allows you to create New Segment Emails or New Template Email.
The usage of both is mentioned on the screen, for now we will go with Template email.

Select New Template Email
Now from here you can select any of these themes or select Blank page to start with

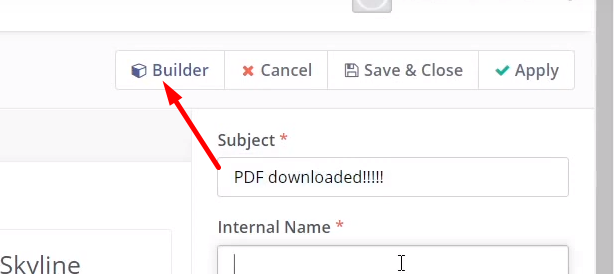
Like, let’s select a blank page and provide all details like Subject, Internal Name, etc.

In Mautic they have a Builder. Using this builder you can create any type of email template like web pages. To go to the Builder just click on the Builder button from the right side and you can go to the builder page.
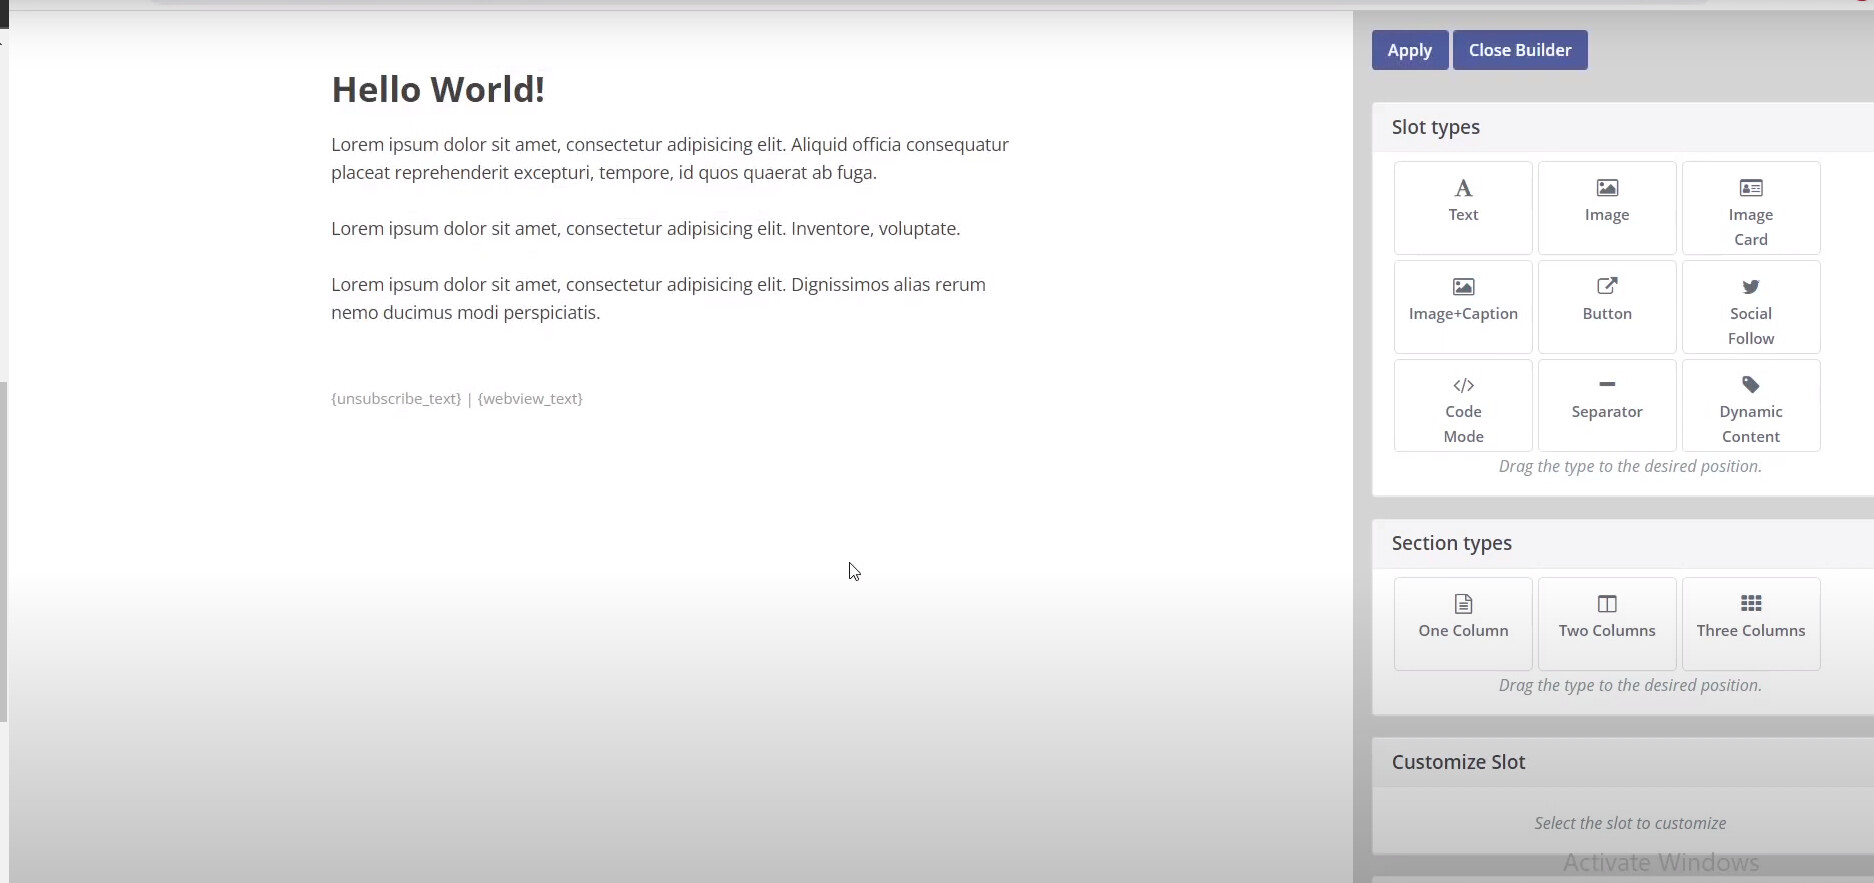
You can create any type of template. You have a lot of options in the builder. Like you can add any type of text, image, card, button, social follow, etc.
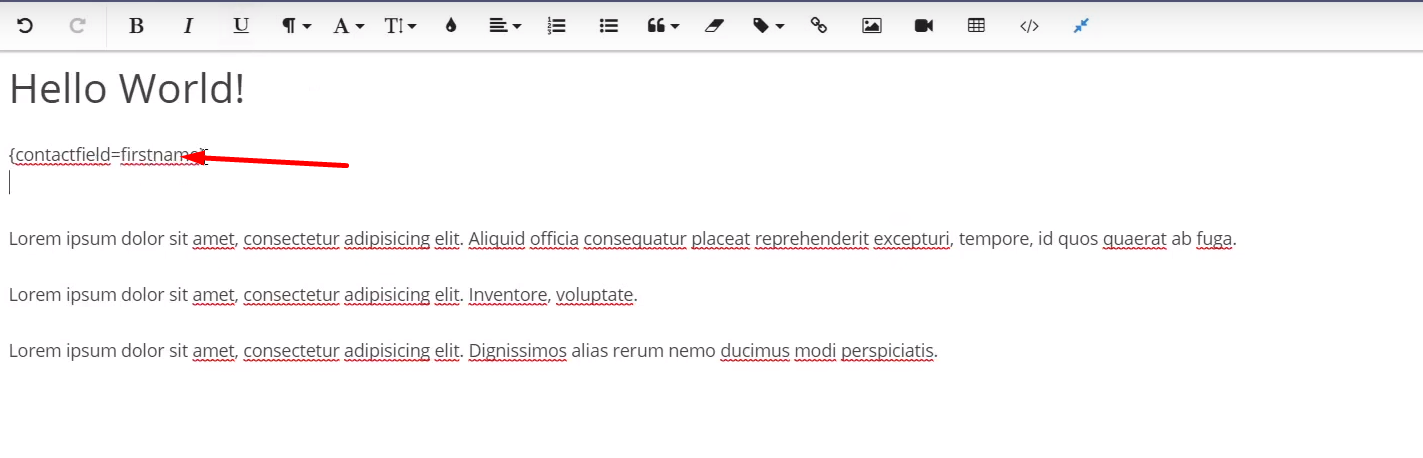
You can also go to the full-screen option from here. and edit your template from there to add any variable value you can add {variable= value} like this.
After adding any changes you can close the builder.
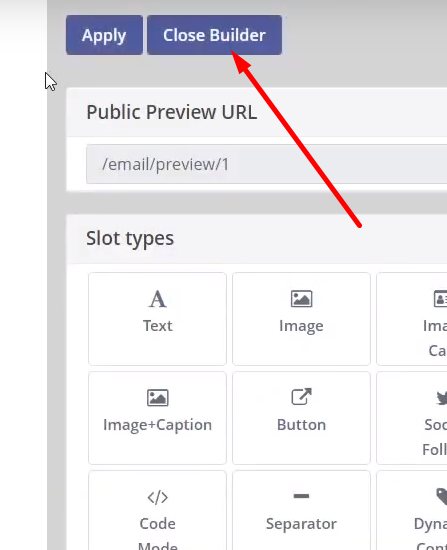
After doing all this just the save your teamplate and it will be ready to use.
Your emails are created and now you can just go to the Channels-> Emails and you can see your created emails.
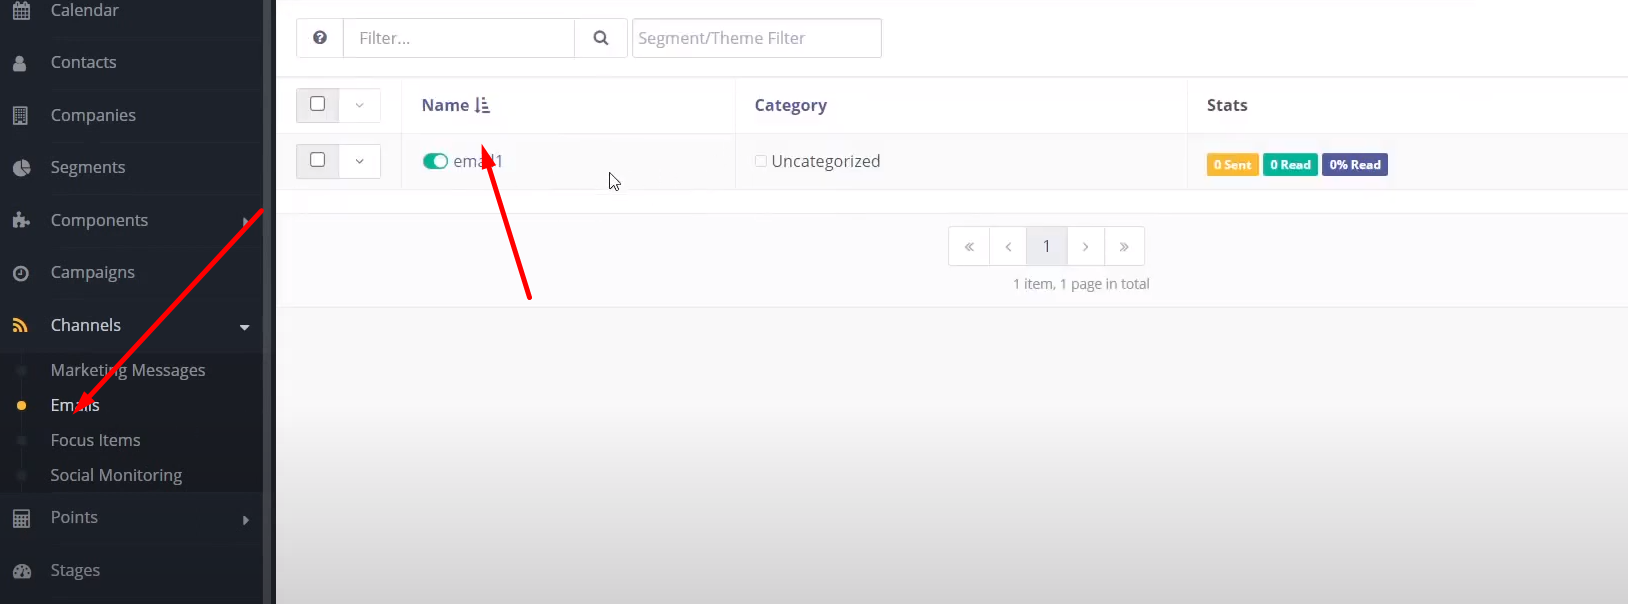
We’ve created 2 more emails and they are listed below:
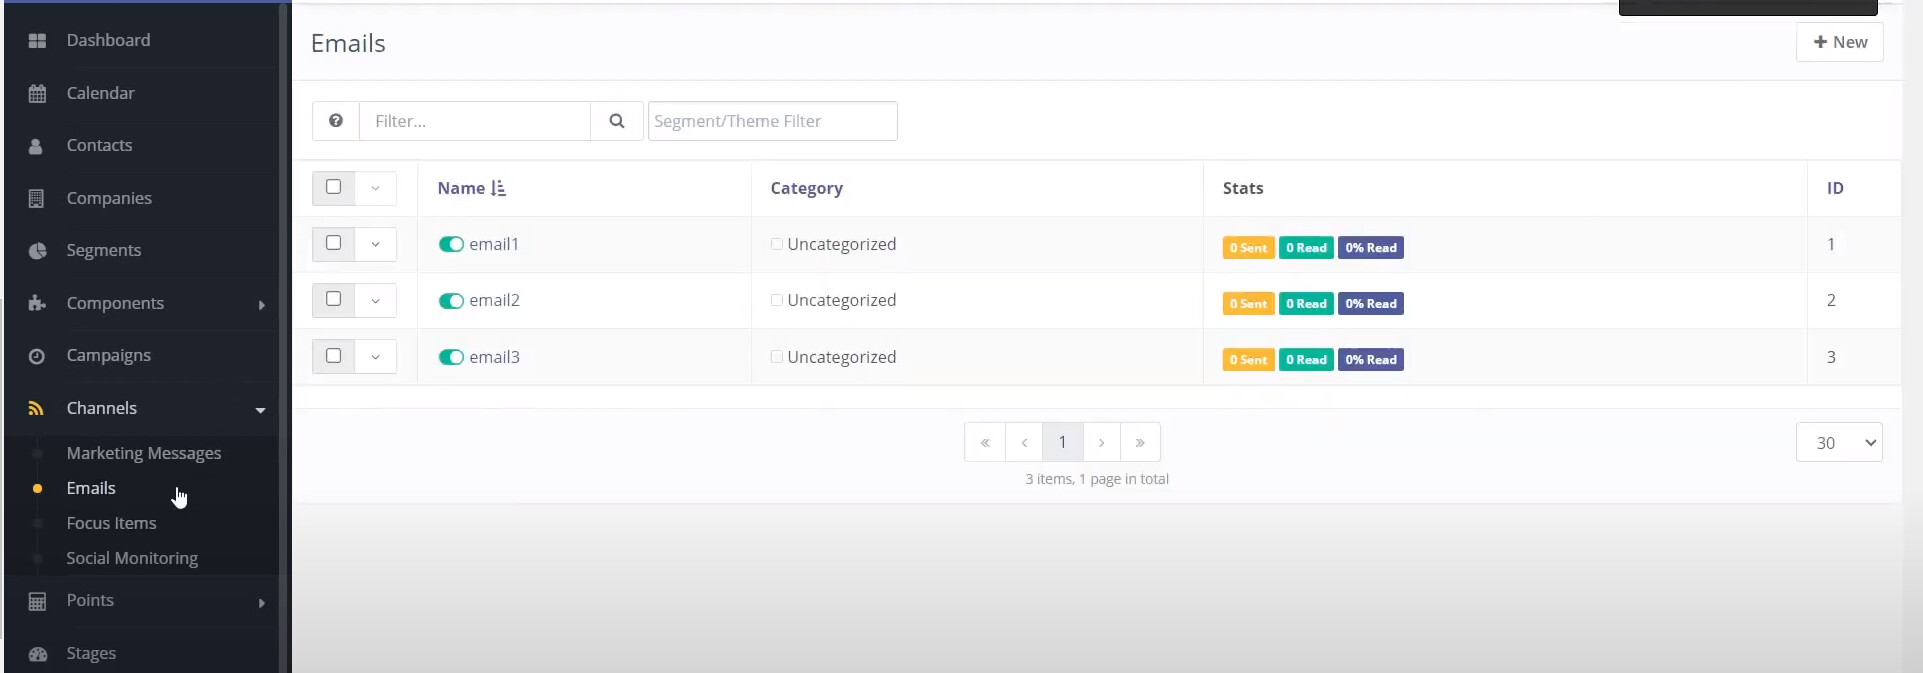
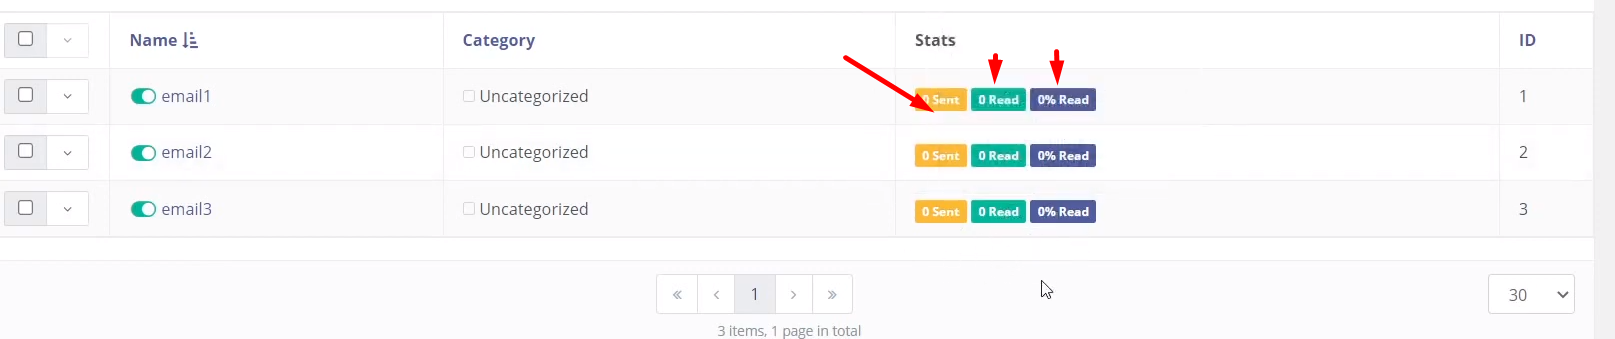
From the emails section, you can also see stats about that certain email. Like how many times the email is sent or read.
Now let’s go for the creation of the campaign and check these emails sequences.
To start campaign creation click on the Campaigns button from the left menu and you can see the campaigns page here in the left menu you can see a New button.
Once you click on New it asks for name, description, etc provide all details.
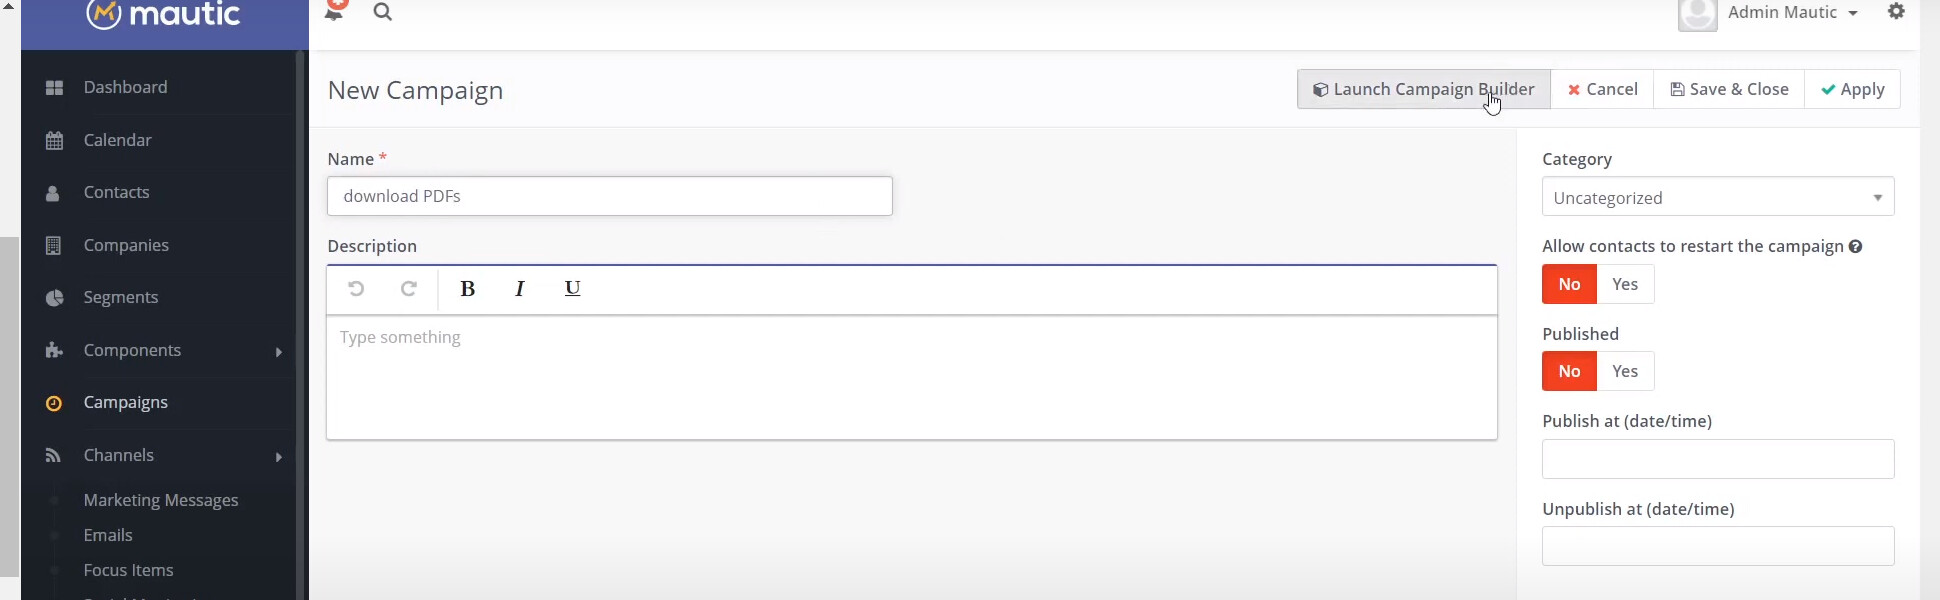
After providing all details just click on the Launch Campaign Builder

Now you can see this screen to select the campaign and move forward.

Here you have to choose the source of the Contact whether it is Segments or forms as you created. As here we created segments so click on segments and in the next step choose any segment and press Add.
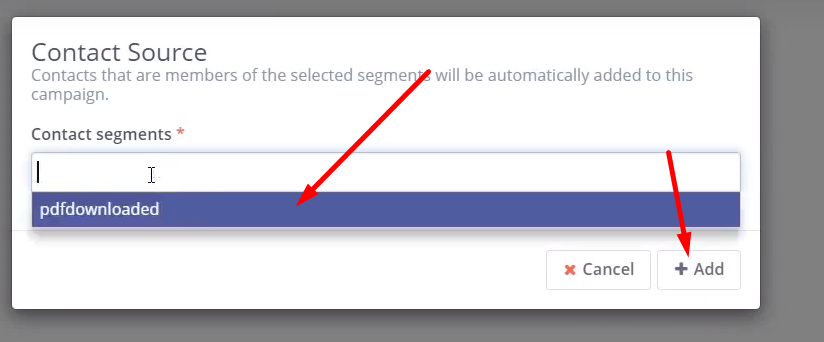
Now you can see your added segment is added here on this screen

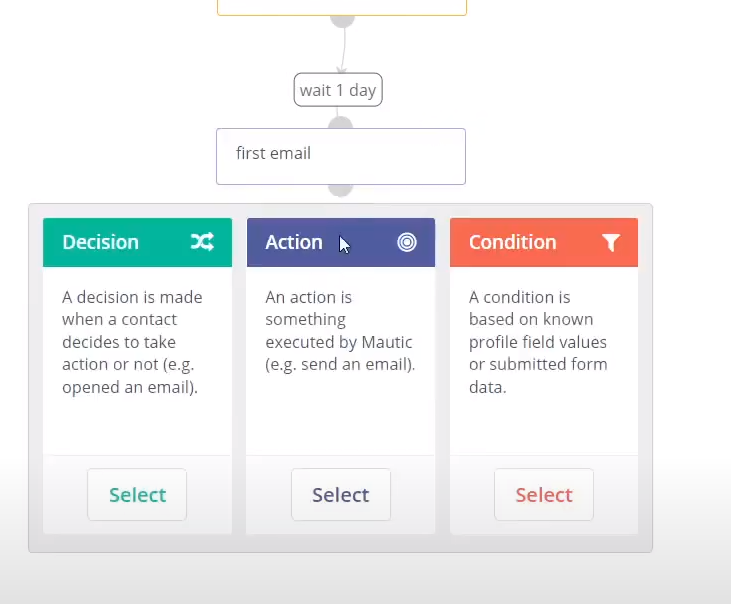
From this button of the segment, you can see the + button and you can see Decision, Action, Condition.
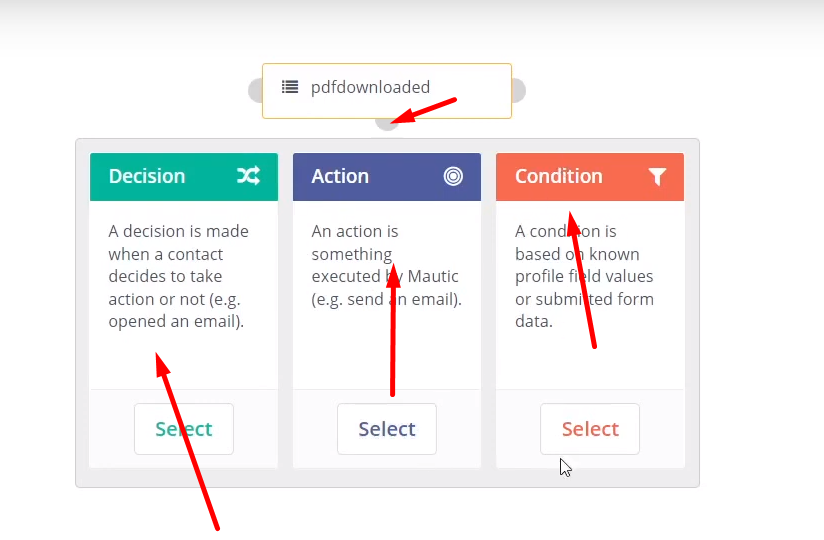
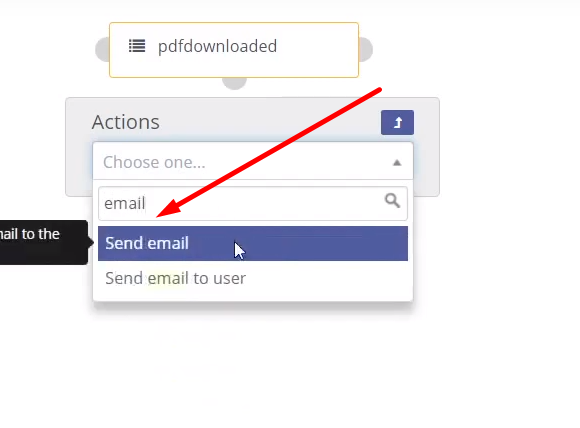
Like here we selected action and add action as Send Email.
Now we have to add a name for the email, then you can select the time of sending email, you have to add the email from where you want to send.
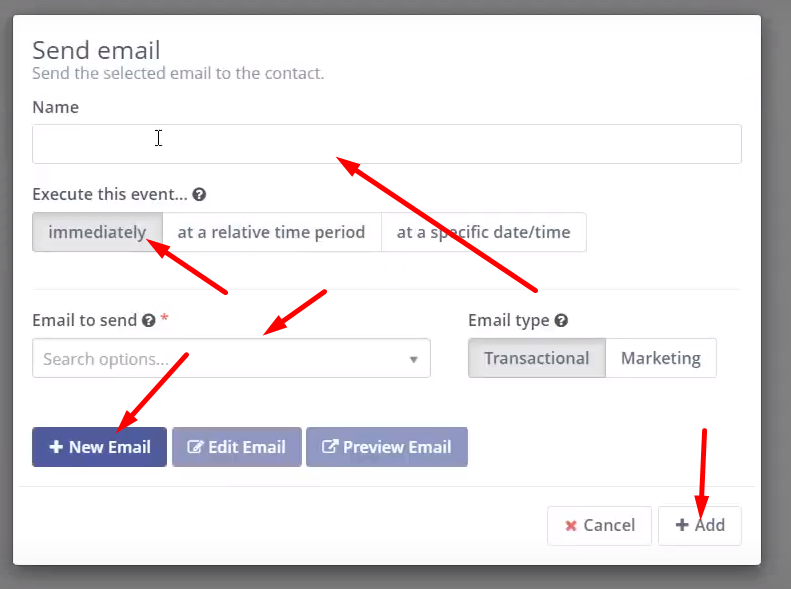
Also, select the email type transactional and marketing email. Click on add button after doing all and you can see this email in the Campaign.
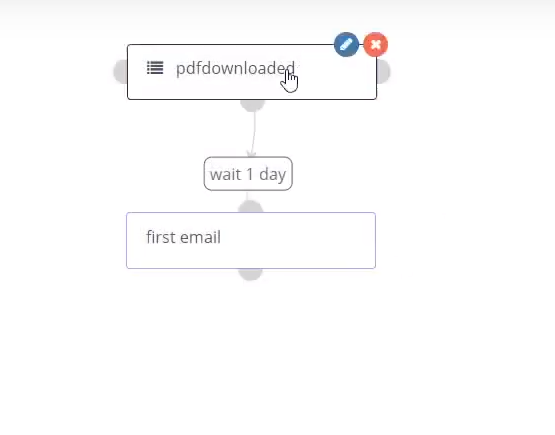
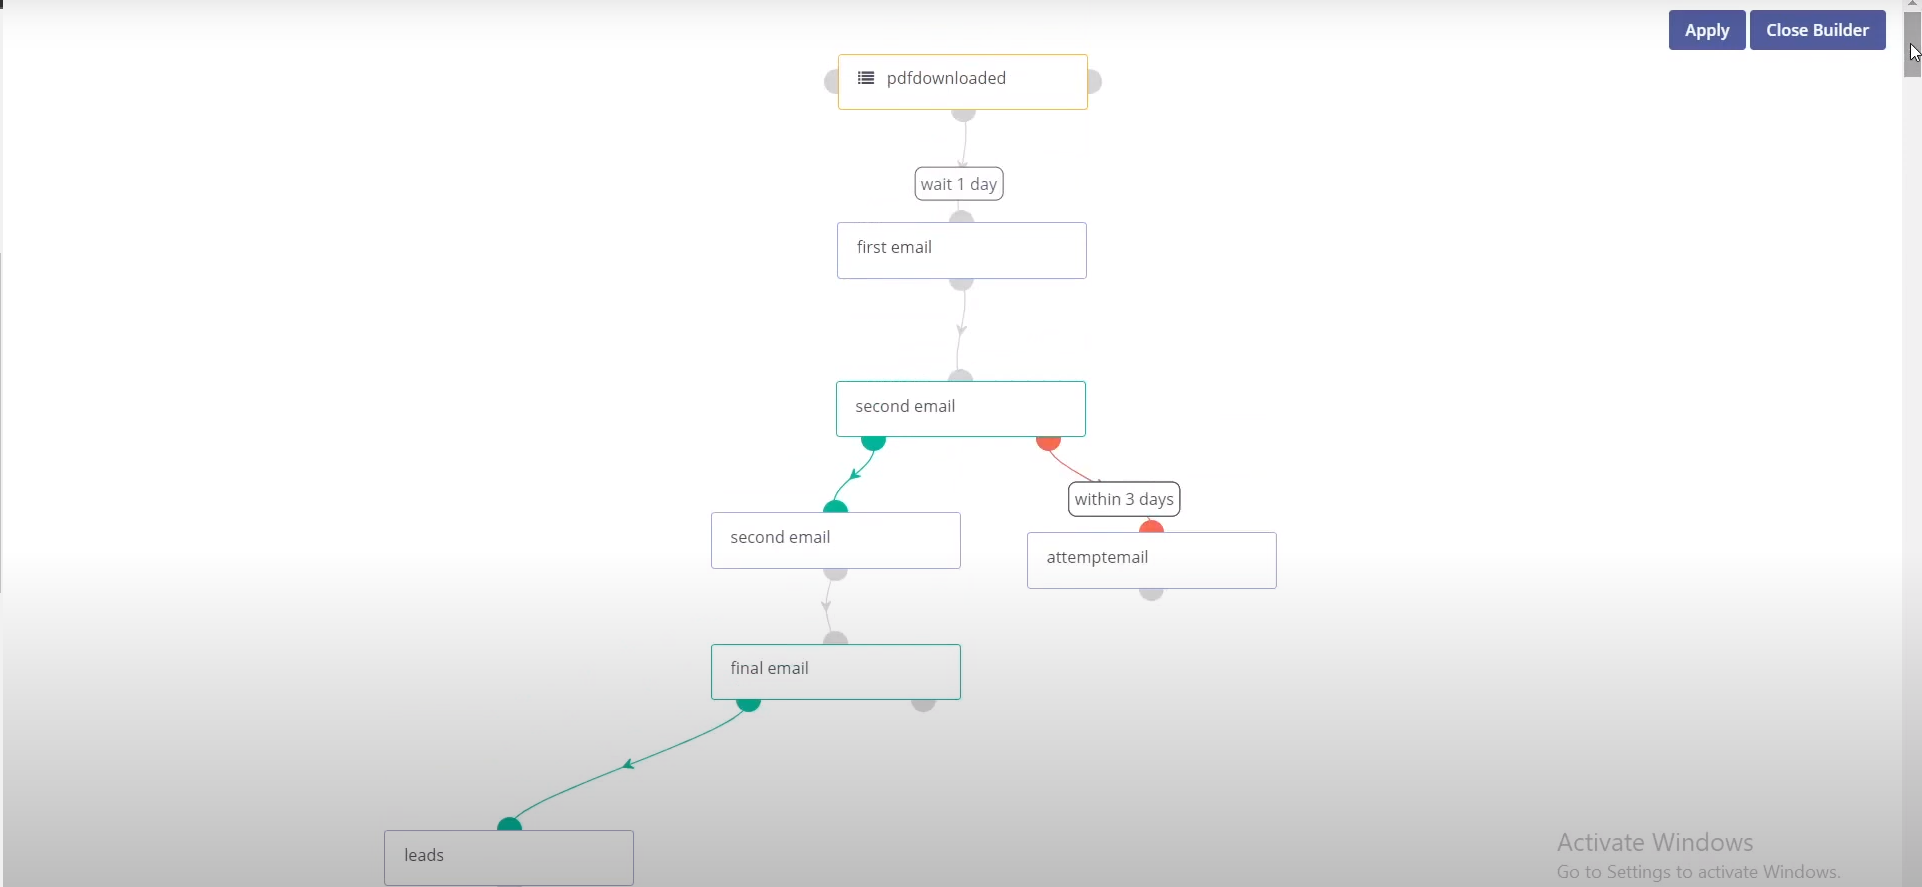
You can see a drip sequence is created here you can add any Decision, Action, the condition here more by clicking that + button.
You can create a drip sequence like this using this campaign like you can add decision, action, conditions, and all.