
CyberPanel is introducing Git Manager in version 2.0.0 so now you can easily track files using Git which includes your website data, databases or even emails with your public or private repository at any Git supported server.
This makes it so you can directly sync your development platform to your web server.
In order to use Git Manager,
Step 1: Go to Website → List Websites
Step 2: Click the “Manage” button in front of the domain you want to use
Step 3: Click Manage Git in the top right corner of the website manager.
Step 4: Choose whether you want to track domain data, databases or emails
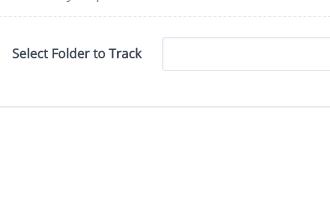
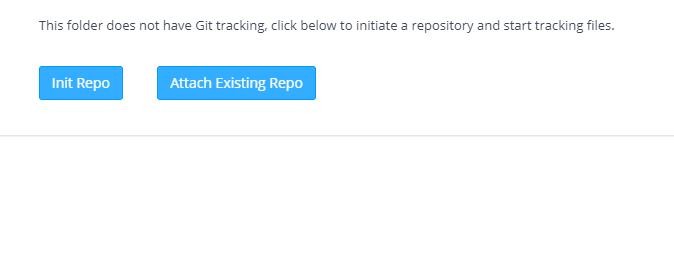
Step 5: You can choose to use a local repo or attach to an existing remote repo. The remaining steps will show how to attach to an existing one.
Step 6: In order to use a remote Git repo, you need to provide the following
- Git Host: e.g. GitHub, GitLab or any private Git server
- Username: Your username at that repo
- Repo Name: Name of the repo you want to sync with
Add this info but don’t click on Attach yet, as you need to add the deployment key to your Git server.
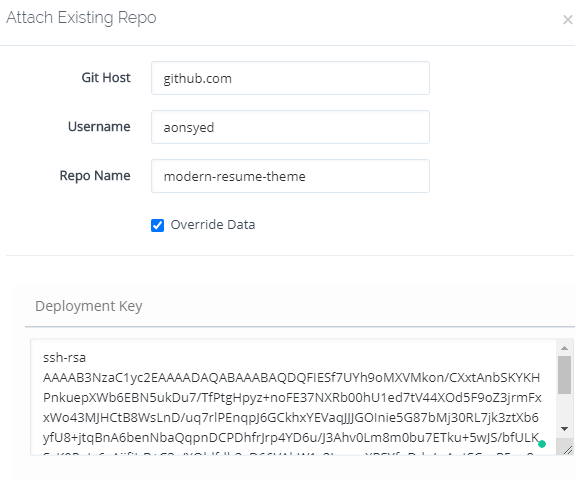
Step 7: Git Manager uses public keys for authentication purposes and the key is shown to you when you are about to attach to a repo.
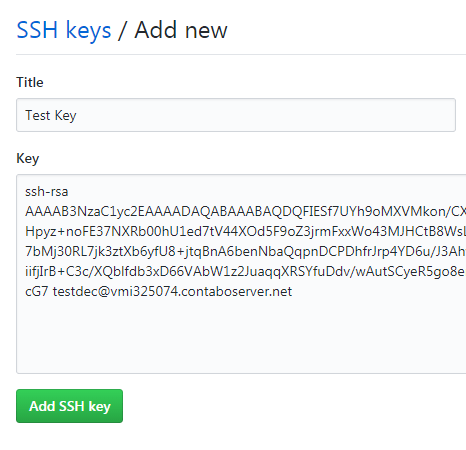
If you use GitHub, go to account settings and then SSH and GPG keys
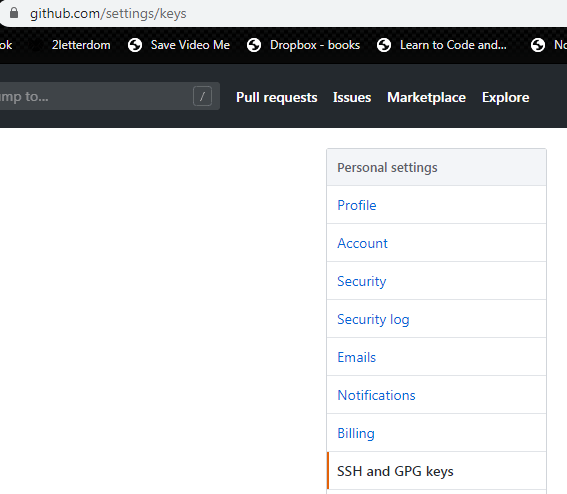
Click on “Add new” and enter any title. In the key section, paste the key you copied from step 6 and click “Add SSH key”
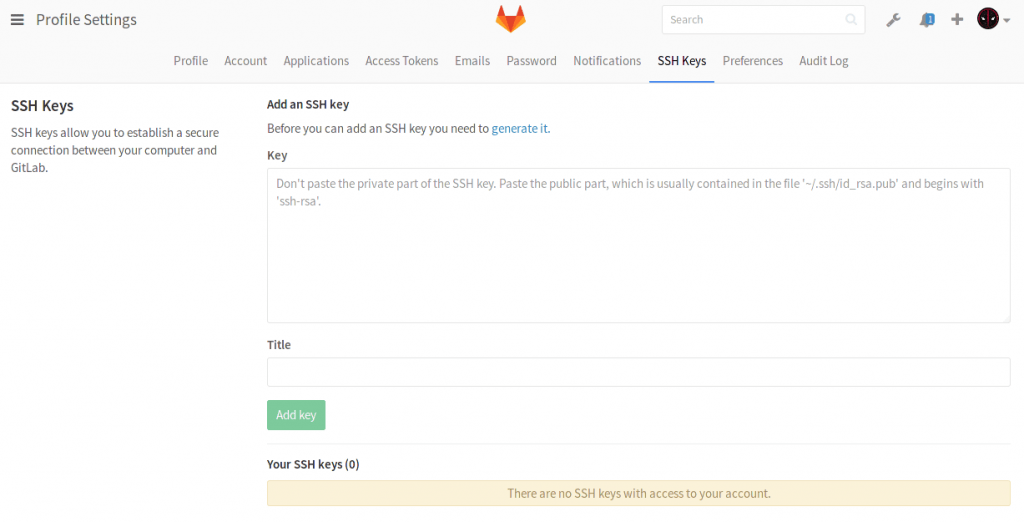
In case you use GitLab on Gitlab.com or using your private GitLab server, go to Profile Settings and click the SSH Keys tab to add the key
In case you are using a command-line Git server, create the key by the following command
nano /home/git/.ssh/authorized_keys/id_rsa..pub
Paste the complete key and save the file.
Step 8: Click on the “Attach” button from the page open from step 6 and wait for CyberPanel to clone the repo into the web server.
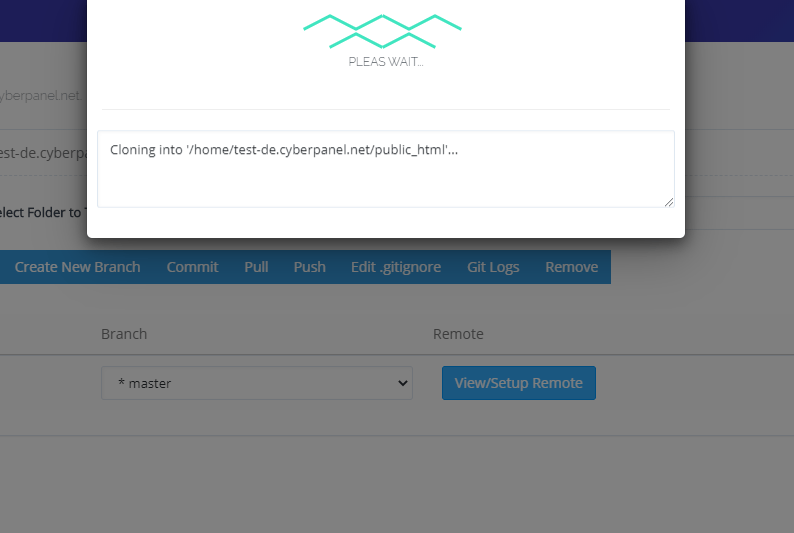
The Git Manager is successfully working and synchronized.
Now in order to test the functionality and learn how it works, let’s do a few things.
1. Commit and Push to Repo
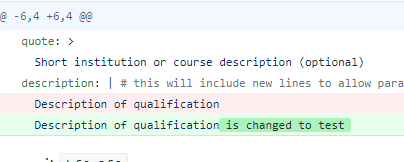
Make changes to one of your pages or after if something is changed on your website.
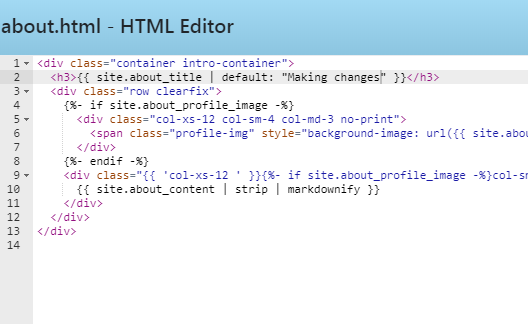
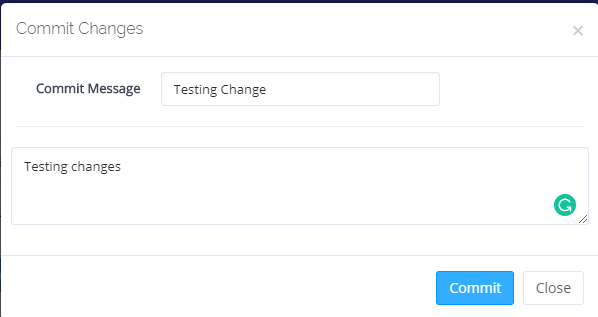
Click on “Commit” button in Git Manager menu
Provide commit message and description then click Commit
Now click the “Push” button so the changes are reflected in the Git repository

2. Pull from Repo
In order to pull changes from the repository to the website, make changes in the repository
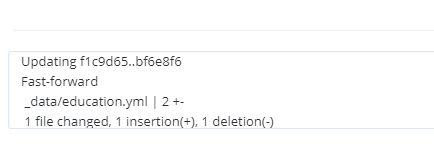
Use the “Pull” button in the Git Manager menu so the changes are applied to the website data.
Conclusion: CyberPanel has provided a great feature that can be used by developers to synchronize the workflow, make testing and working on the web much easier. We have also shown you basic commit, push and pull actions.
If you are having trouble, make sure you don’t have any conflicts across the repos and changes on both sides have been committed before a push or pull across them.
