
Apache is the most known web server for complex apps and Openlitspeed is famous for its speed efficiency. Both have their own advantages and performance scales.
Here at Cyberpanel, We’re excited to announce the successful implementation of our Apache integration. This integration, fundamentally, is an OpenLiteSpeed split, but with an Apache backend.
Why did we decide to proceed with this?
Well, this configuration provides the best of both worlds. You will enjoy the excellent speed of OpenLiteSpeed, coupled with the rich features of Apache.
This arrangement proves particularly beneficial if you are running highly customized applications, such as PrestaShop, or some unique WordPress plugins that require extensive use of .htaccess. Apache becomes indispensable in such scenarios. Keep in mind that your LS cache will continue to function, maintaining maximum performance even when OpenLiteSpeed is combined with Apache.
How does this work?
OpenLiteSpeed is still in charge of the front end. It passes the traffic to Apache, which then manages the requests from the backend. This setup is currently supported for Alma Linux and Ubuntu.
Creating a website with this setup is straightforward.
Navigate to ‘Create Website’ from the left menu of CyberPanel,
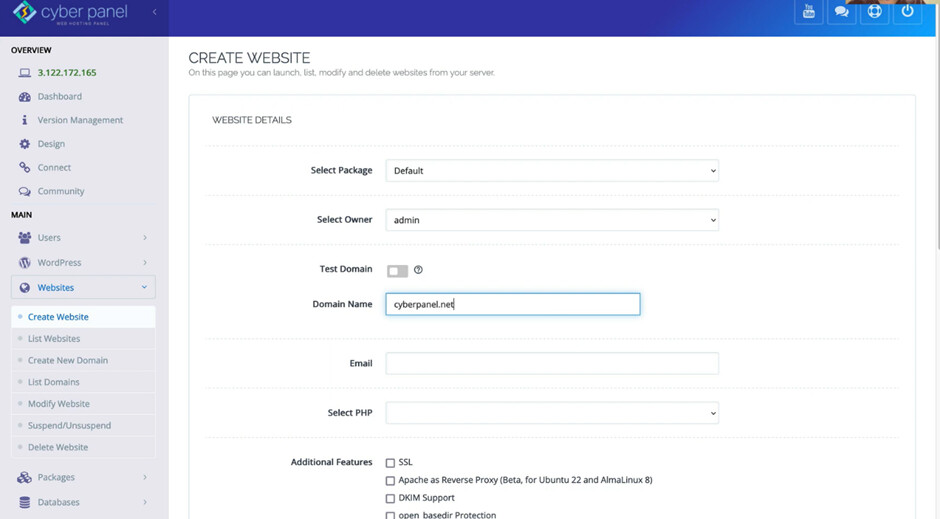
enter your website’s name (for instance, cyberpanel.net), add your email, select PHP, and choose Apache as a reverse proxy You have to select this option to use Apache as a reverse proxy.
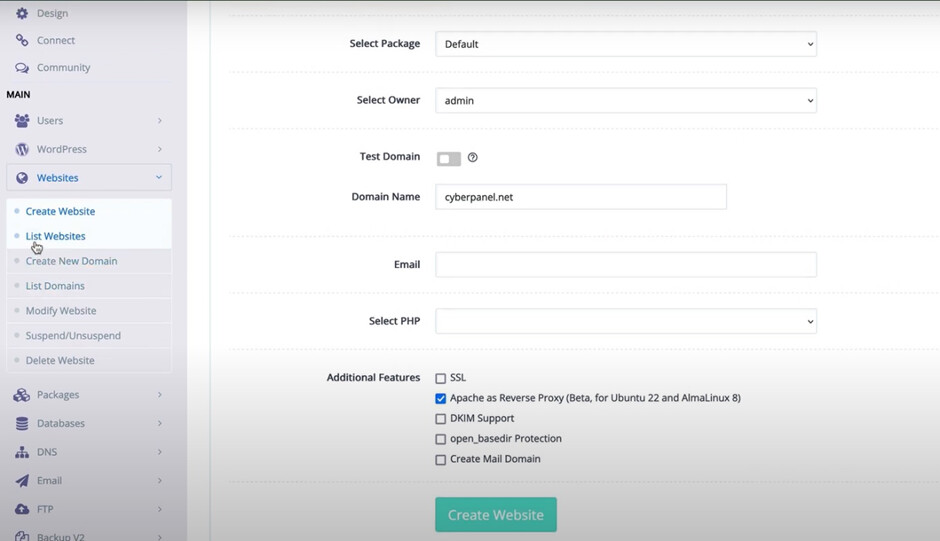
Your website will operate with Apache in reverse proxy mode, with OpenLiteSpeed on the front end and Apache on the back end. As such, your .htaccess rules will operate as they did when using cPanel or any other control panel.
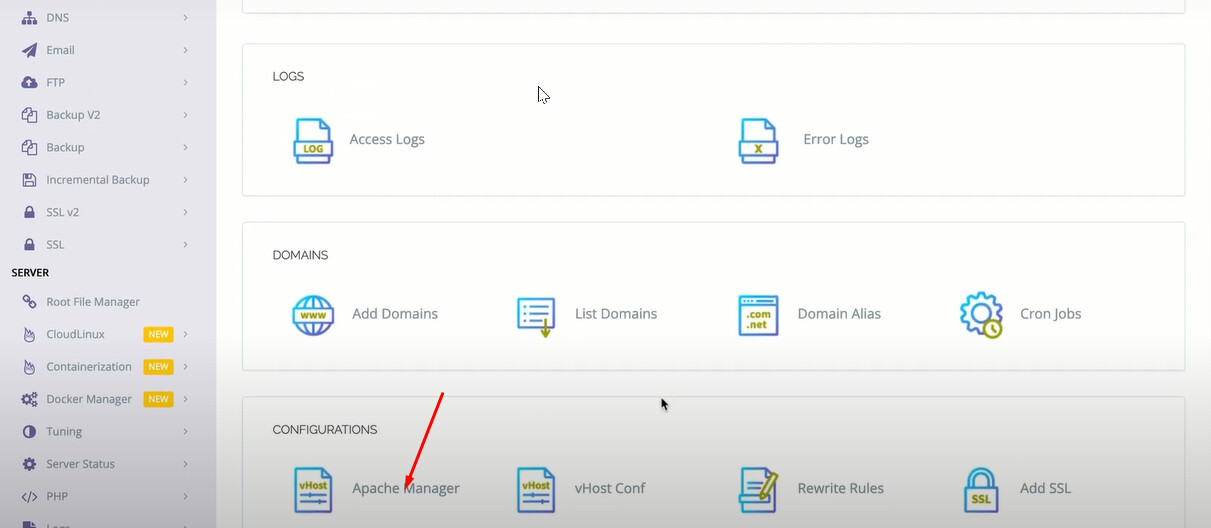
Once the website is created, you can manage the Apache configuration for the site in our Website Manager.
To do so go to Websites->Manage->Apache Manager
There you have the flexibility to switch to pure OpenLiteSpeed if you prefer not to use Apache on the backend.
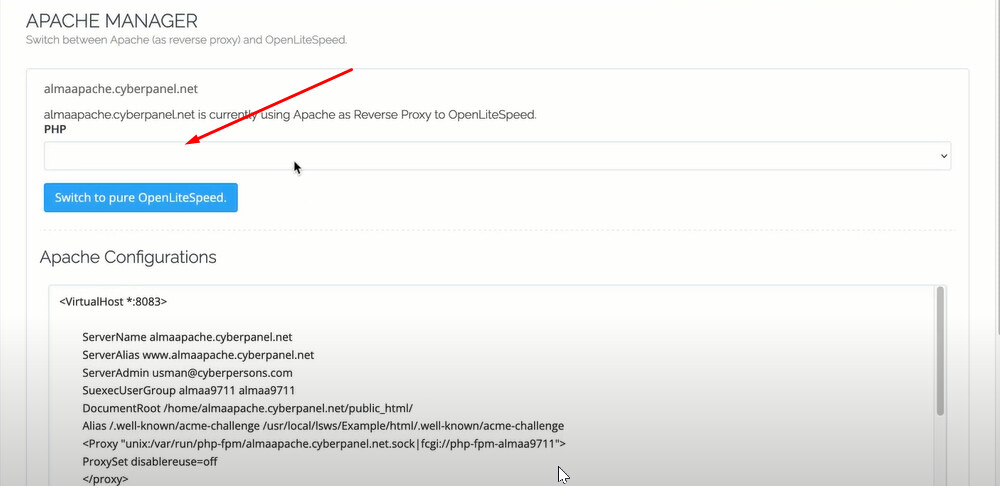
If a website is using OpenLiteSpeed, it can also be converted to utilize Apache.
How to edit PHP configuration?
You can easily edit these Apache configurations using the steps given above, but be cautious. If errors are made, your websites may cease to function. Our Apache configurations use PHP-FPM, so you if you want to edit any PHP configurations for that PHP we added that in our PHP manager.
To do so just go to the **PHP->Edit PHP configurations → Edit Apache Configurations *
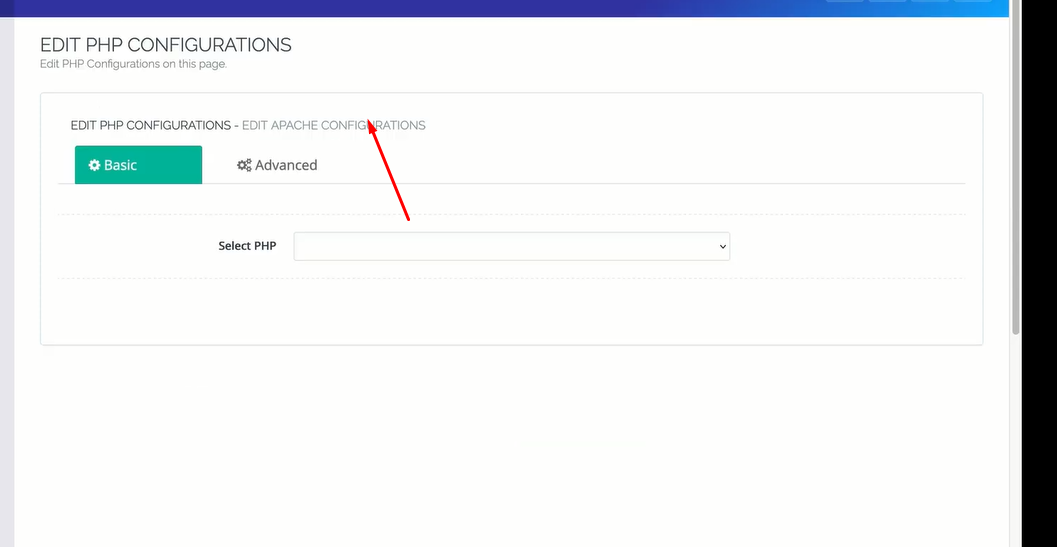
*
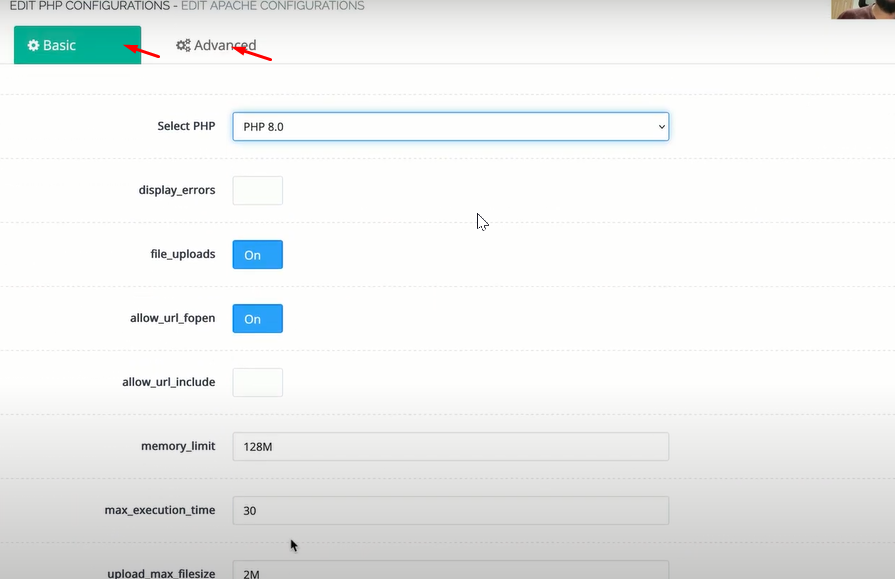
By default, the LiteSpeed PHP configurations are selected to edit but you can switch to Apache and can change those.
You can use basic and advanced editors for php configurations as well.
How to install PHP extensions for Apache PHP?
To do so just go to the **PHP->Install PHP extensions → Manage Apache Extensions *
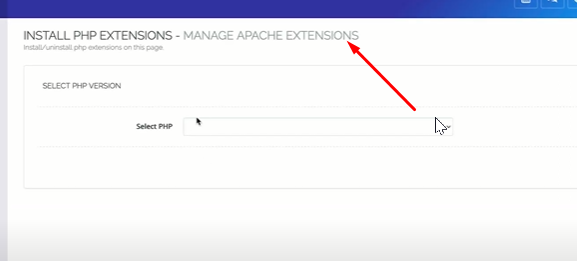
You can search and install any extension from here for any php.
That’s the overview! If you have any queries or need further clarification, don’t hesitate to drop a question in the comment section.