Read our Facebook announcement related to this feature.
After v2.1.1 and above we’ve added an option in the cloud to perform fail-safe upgrade. (This works only if you are on v2.1.1 or above)
This upgrade procedure will only upgrade/change CyberPanel branch and apply any needed migrations and fix permissions.
The whole process is very simple and require few clicks only with no need to open a terminal.
Follow these steps to upgrade your server to the latest version using CyberPanel Cloud.
Note: This is free for everyone.
Login to CyberPanel cloud Using credentials:
Visit https://cloud.cyberpanel.net/ provide username and password to login into your account.
Once you logged in to your CyberPanel Cloud make sure your server that you want to update is connected to the cloud and running.
Connect Your server to CyberPanel Cloud:
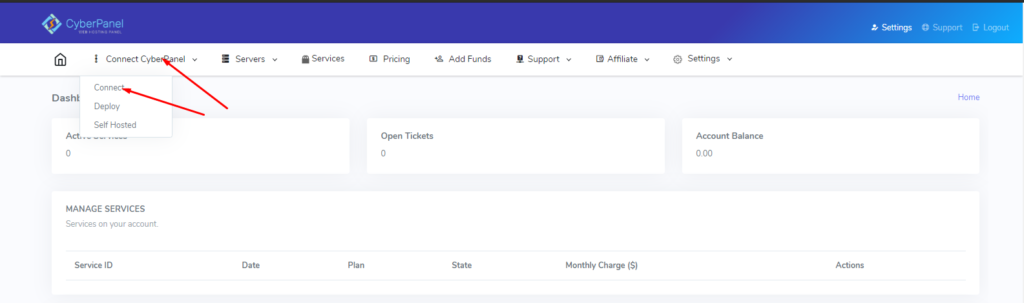
To connect your server to the cloud go to the Connect CyberPanel → Connect in the top menu.
To connect provides all details of your server:
- Name (this can be anything)
- Ip (Your server IP)
- Password (Your CyberPanel admin user password not ssh)
- Port/Username (Leave both to use default)
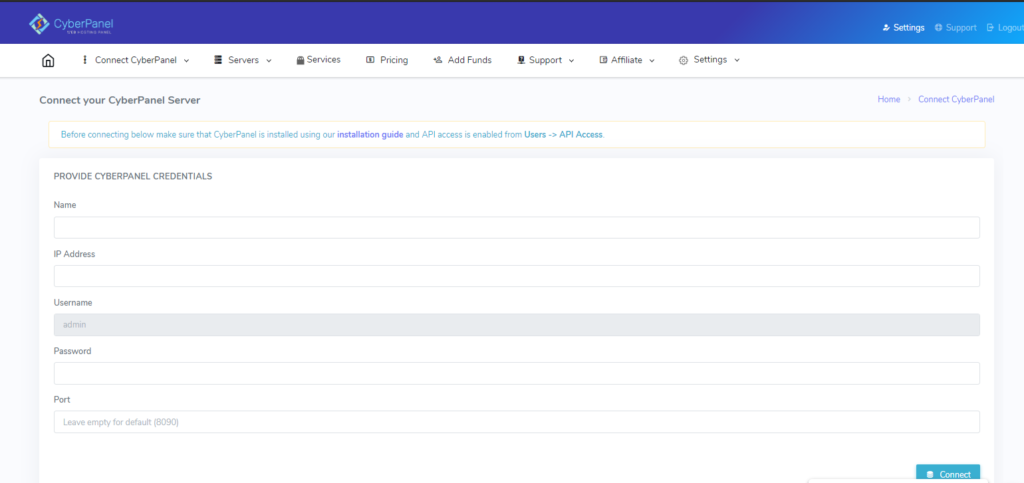
Press connect and you can see a success message in green.
Upgrade Your CyberPanel Now:
To upgrade your cyberpanel:
Go to the Server->List Servers now select the server which you want to upgrade.

Now after selection click on the three dots present on a server

Now on the Manage page go to Settings → Upgrade

On the Upgrade page just select the version you want to update to and press upgrade.
