You want to buy SSL for your domain and you’re wondering how to add that SSL through CyberPanel. These days security is a primary concern. We all want HTTPS for our websites, as the ‘Not Secure’ tag on the address bar doesn’t look nice.
SSL stands for Secure Sockets Layer. SSL on a website ensures secure, encrypted communication between website and web browser. With SSL on the website, it makes sure that data transferred between website and web browser is not changed by an intruder during the transfer process. SSL protects sensitive data like credit card details, and personal information that is transferred online. Basically, SSL Certificates are small data files that bind cryptographic keys digitally for an organization. If a person with not much technical background wants to understand SSL, then he or she should know that SSL helps to run websites on HTTPS. HTTPS stands for ‘Hyper Text Transfer Protocol Secure’ and with the word “Secure,” one feels satisfied and doubts less.
This guide will explain step by step how to add custom SSL to your domain in CyberPanel. Kindly follow carefully each and every step.
Requirements
- Domain
- CyberPanel Installed on CentOS 7
- CyberPanel User Login Credentials for your Domain
Get SSL and Private Keys
Step 1: GoGetSSL Free Trial
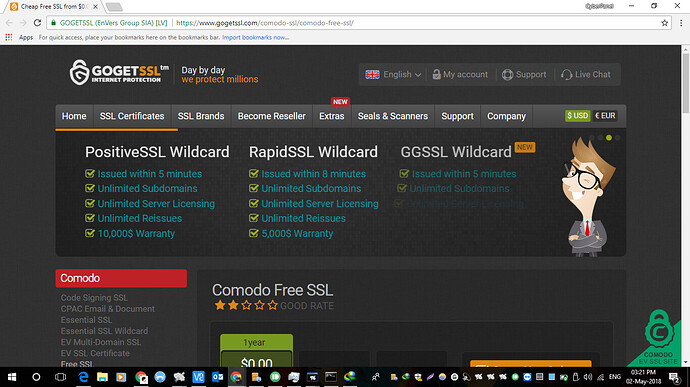
You can get SSL wherever you like. In this example, we are using a GoGetSSL Trial from gogetssl.com
GoGetSSL Provides SSL from various organizations and some do provide Trial SSL Certificates.
Head over to GoGetSSL.
Step 2: Start a Fresh Order
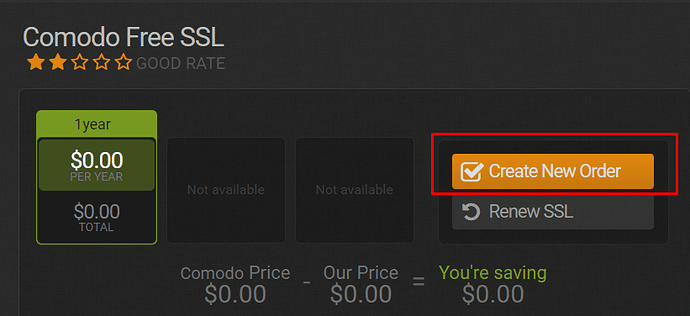
Select ‘Create New Order’ and the New page opens.
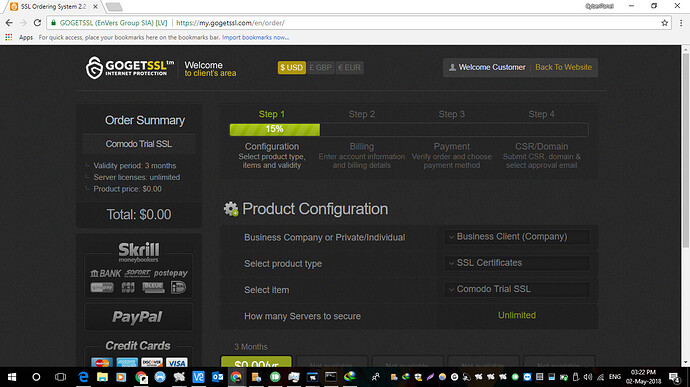
Under ‘Product Configuration’ select the following options:
- Product Type – SSL Certificates.
- Item – Comodo Trial SSL or GGSSL TrialSSL or any other paid Certificate for your domain. Your choice.
Press the ‘Complete Order’ button.

Step 3: Billing Details and Payment
If you have an account then you can login here, or sign up using a fresh account by filling in basic details. After successful signup, proceed to the Payment tab and then complete the order. If you chose a trial certificate, it will not ask for any credit card or other payment details because the payable amount is US$0.
Step 4: Complete Order
You might see a warning saying “You have Incomplete Orders. Check 4 Steps how to solve it.” If you don’t see any warning then skip this step.
Click on ‘Incomplete Order’
You will see Order List with ‘GGSSL TrialSSL’ in the list.
Tap on ‘Generate Button’. It will take you to a new page.
Step 5: CSR Configuration
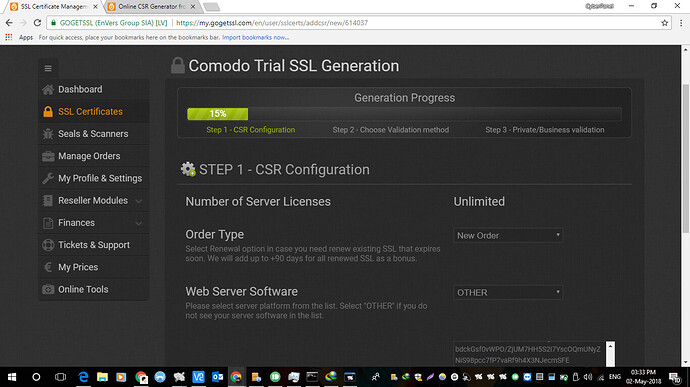
Please Select ‘New Order’ in ‘Order Type’ field. Set Web Server Software to ‘Other’
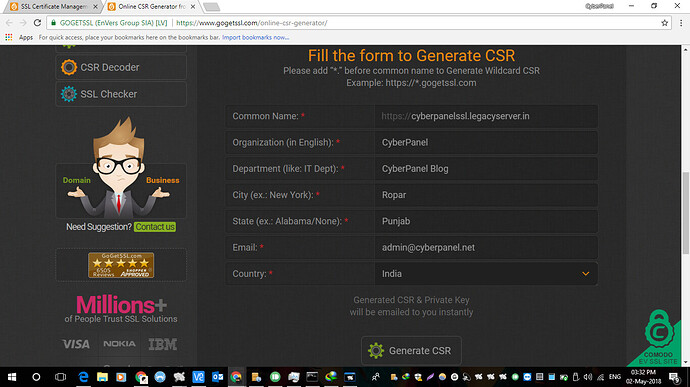
Head over to Online CSR Generation.
Fill in the form with the required details for CSR Generation, such as Common Name, Organization, Department, City, State, Email, and Country.
After filling out the form with correct details, Press the ‘Generate CSR’ button.
It will generate CSR and Private Key. Save them both in a text file.
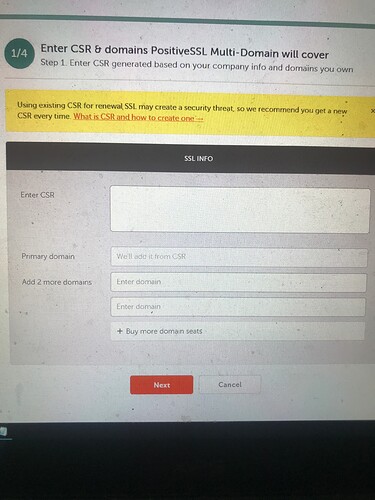
Paste the CSR on the Product Page to proceed with the order.
Now, set Signature Algorithm to ‘SHA2’ and press the ‘Validate CSR’ button.

After CSR Validation there will be options for Domain Validation. You can use the DNS method or File Method to validate your domain.
Details will be included on the validation webpage provided by GoGetSSL. Kindly follow these steps for validation of your domain.
After the domain validation generation, the process will be finished.
Step 6: Download SSL Certificate
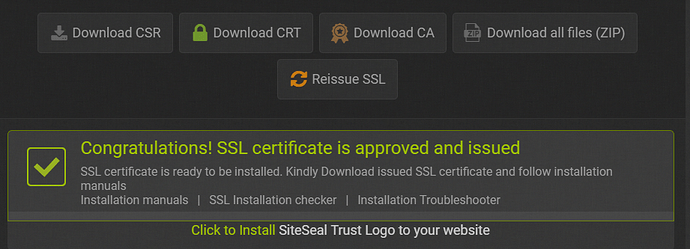
After generation, its time to download the certificates and install them.
Head over to the GoGetSSL Dashboard. Make sure you are signed in to GoGetSSL.
Look out for ‘SSL Certificates’ on the left sidebar and select it.
You will see your SSL order for your particular domain.
Press the ‘Generate’ button, it will start generating SSL, and you can Download the CSR, CRT, CA individually or in an archive file.
ADD SSL to Domain in CyberPanel
Step 1: Open CyberPanel Web
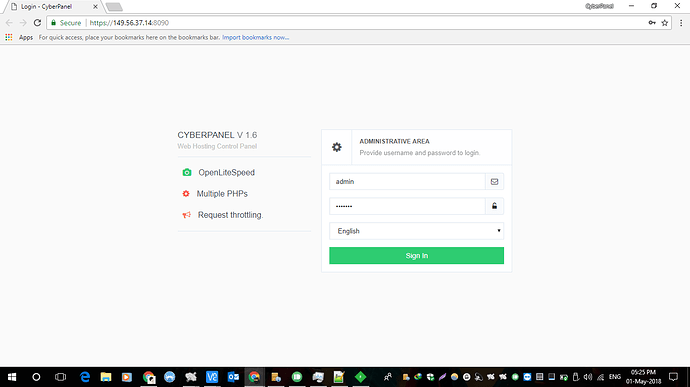
First, open CyberPanel Web Panel using https://hostname:8090 (‘hostname’ here is your ‘Server Hostname’ or server IP Address).
You might get an SSL Warning on accessing the CyberPanel Web Panel. Select ‘Proceed anyway’ or ‘Proceed with caution’. The text of the warning message depends on the web browser.
Step 2: Log into CyberPanel Account
Enter username and password for the account where the domain is hosted, select language and log in. If you have created multiple user accounts then you need to be careful to log in to the correct account.
Step 3: Select Website
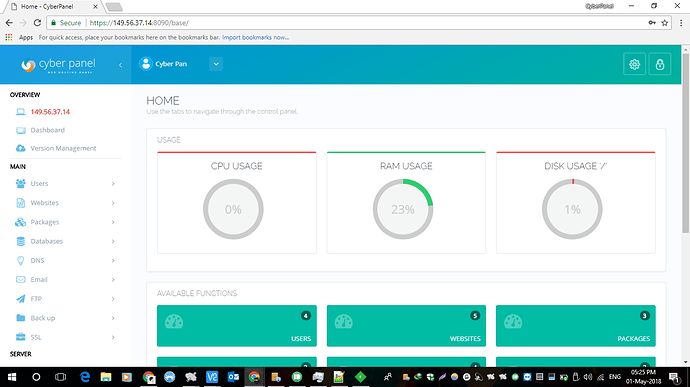
Look out for ‘Website’ on left sidebar and select it.
Note – If your website is already added to CyberPanel then skip Step 4
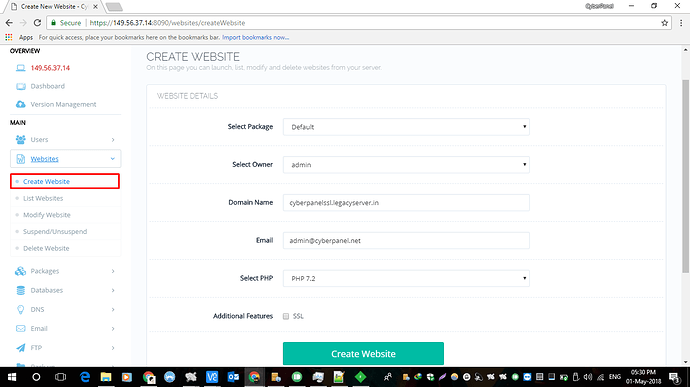
Step 4: Create Website
No worries if you have not already added the website in CyberPanel. Tap on ‘Create Website’ and fill out the details of your website in the form that appears on the screen.
Note – Please do not tick SSL under Additional Features.
Press the ‘Create Website’ button and wait for the process to finish.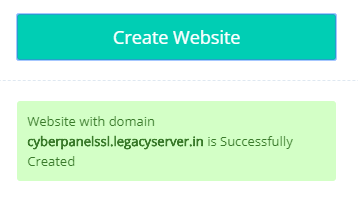
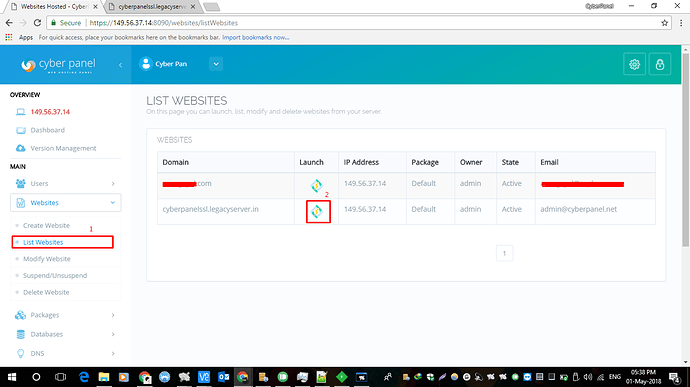
Step 5: List Websites Available
Select Website again on the left sidebar and select ‘List Websites’.
Step 6: Select Website
Lookout for the website in which you want to add SSL and tap the icon under the ‘Launch’ tab
This will open the various tools and configurations for the particular website.
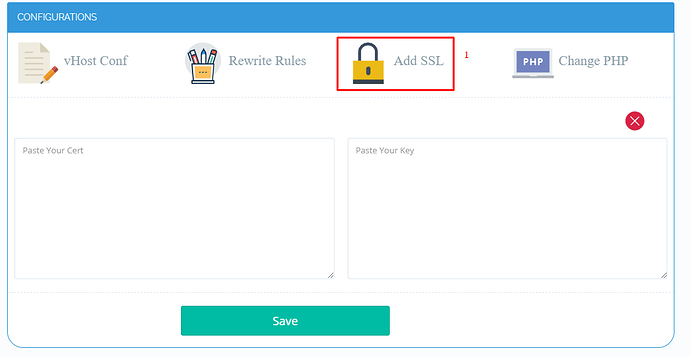
Step 7: Add SSL Option
Scroll down a little and look out for the ‘Add SSL’ option.
Select ‘Add SSL’.
This will show two text boxes. First TextBox for Certificate and second for Private Keys.
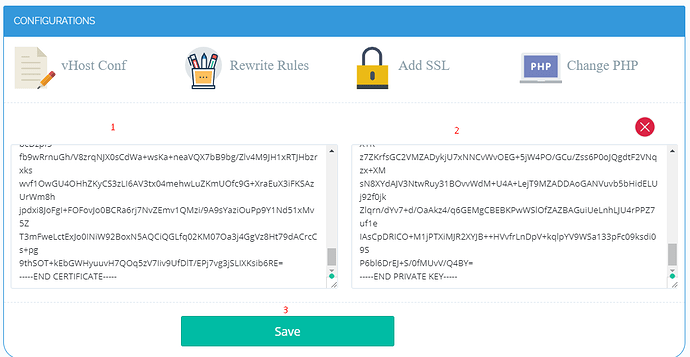
Step 8: Add SSL Certificate and Private Keys
Fill both the text boxes, press the Add SSL button, and wait for success.
In the first text box, paste the contents of your certificate file and the chain file, if you have a full chain cert, you can use only that
The final result should look like this:
-----BEGIN CERTIFICATE-----
end certificate
-----END CERTIFICATE-----

-----BEGIN CERTIFICATE-----

CHAIN DATA HERE
-------END CERITIFCATE-------
The end cert will be followed by intermediate cert and CA cert in the same text box.
Please use the full chain certificate instead of just the main cert or else SSL Testers and some browsers will give warnings that the chain is broken.
In the second text box, paste the Private Keys generated at the time of CSR Generation.
Step 9: Restart OpenLiteSpeed
Move to the left sidebar, look out for ‘Server Status’ and select it.
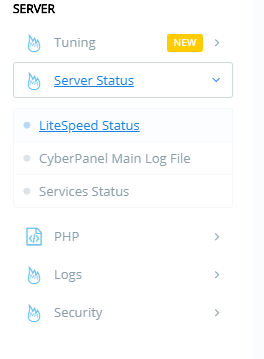
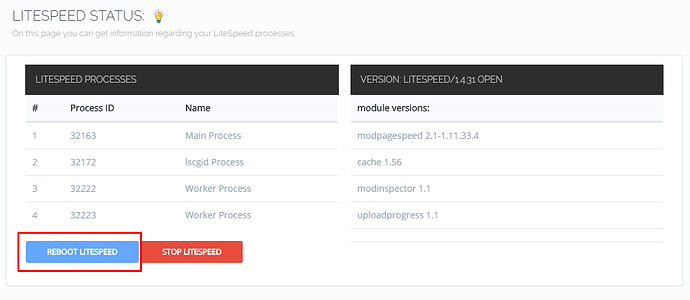
Under Menu select ‘LiteSpeed’ to see the various LiteSpeed processes that are running on the server.
Look out for ‘Reboot LiteSpeed’ and click the button to Reboot it.
Step 10: Check SSL
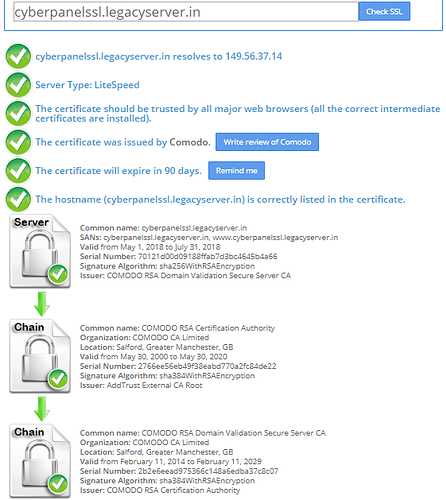
Now we can check SSL using Online SSL Checker. Use this website to check.
Enter your domain name and press the ‘Check’ button. Your results should show.
We hope this you found this guide helpful for adding SSL to your domain in CyberPanel.
If you face any kind of problem in above process kindly contact us or head over to our forums.
