CloudLinux and CageFS is available with CyberPanel v.1.8.6, but before using any of its features, you need to convert your operating system to CloudLinux OS. Use commands below to convert your server to CloudLinux OS.
If you have CloudLinux activation key:
wget https://repo.cloudlinux.com/cloudlinux/sources/cln/cldeploy
sh cldeploy -k <activation_key>
reboot
Or if you have IP based license
wget https://repo.cloudlinux.com/cloudlinux/sources/cln/cldeploy
sh cldeploy -i
reboot
This will successfully convert your OS to CloudLinux.
After installing you can go to https://<YOUR_SERVER>:8090/CloudLinux/listPackages and click on the activate button. This will activate CloudLinux for CyberPanel by processing all the integrations needed.
You can then install and use CloudLinux related features within CyberPanel including CageFS.
When you have converted CyberPanel to Cloudlinux OS and activated it from CyberPanel, it comes with a new LVE Manager, the user interface for managing Cloudlinux and CageFS is now maintained separately on port 9000.
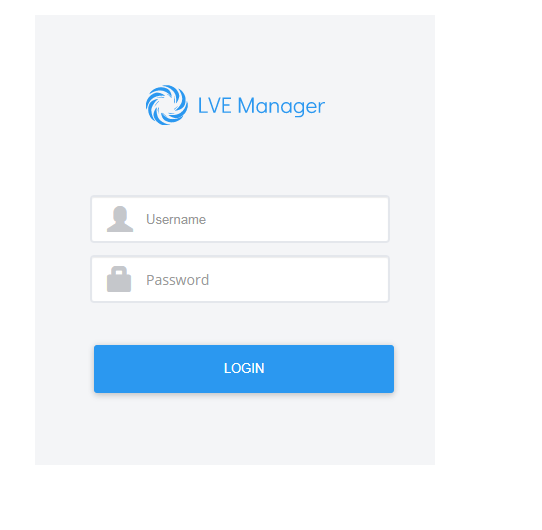
When you open <IP_ADDRESS>:9000, you will be met with the following screen.
Use your root credentials to log in, your CyberPanel administration credentials won’t work.
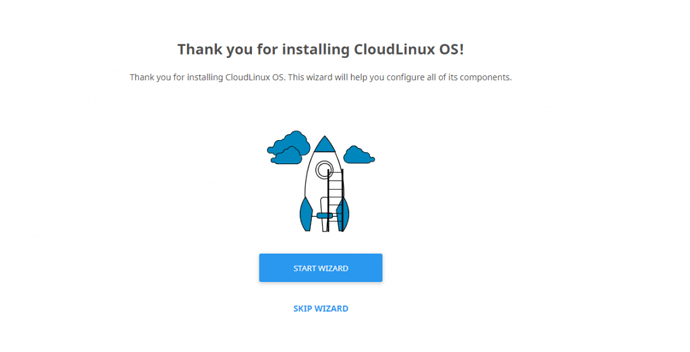
On the next screen, you will be greeted with the following
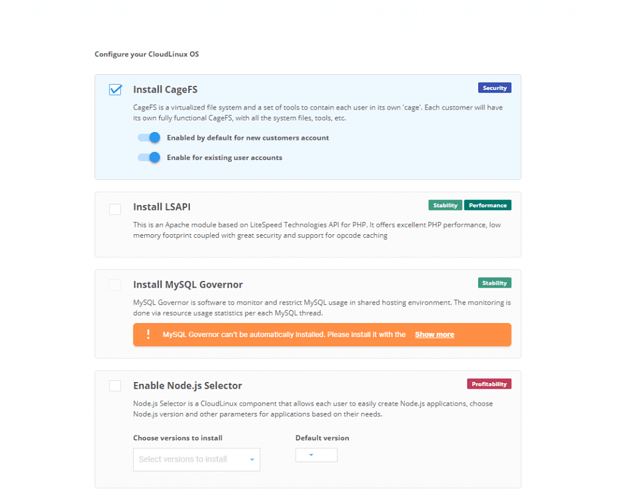
Use the start wizard to install CageFS, you will see the following
Make sure to check the box “Install CageFS” and turn on both options below it to make sure it’s activated for all existing and new customers.
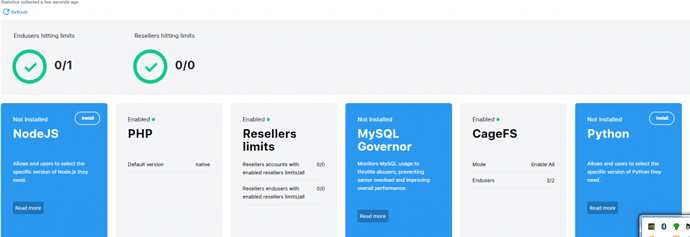
Once you click “Start Installation” you will be redirected and in a minute or so CageFS will be installed you will see the following screen
Congratulations you have successfully installed CageFS and configured it for existing and new accounts.
